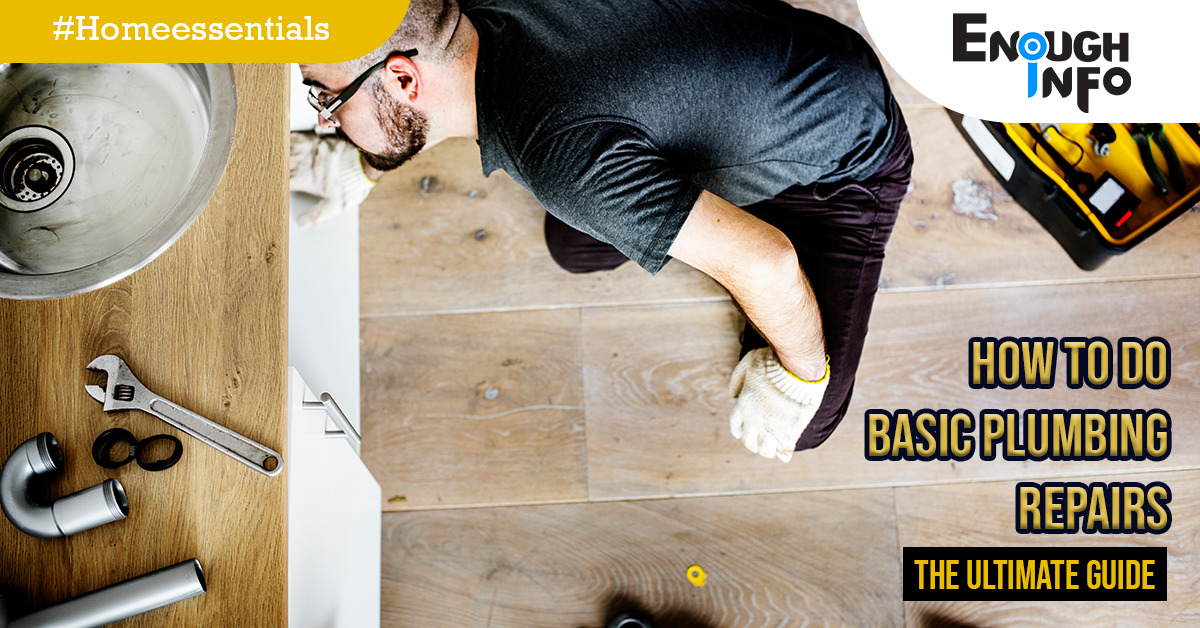
How To Do Basic Plumbing Repairs
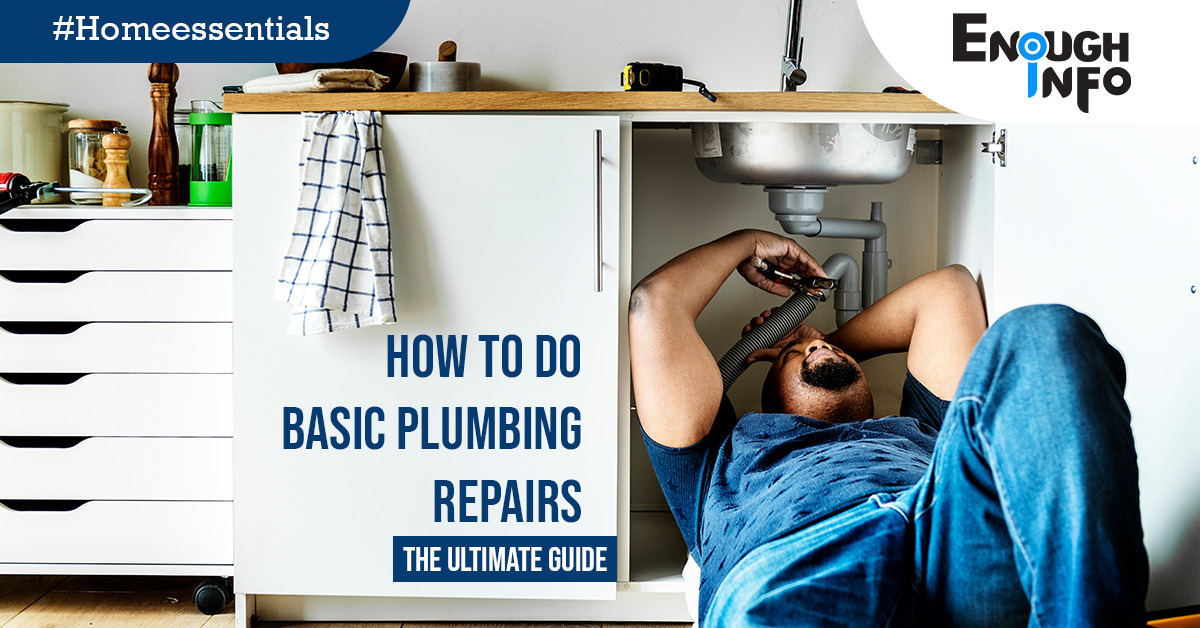
How To Do Basic Plumbing Repairs: Plumbing issues are inevitable in homeownership. From leaky faucets to clogged drains, understanding basic plumbing repairs can save you time, money, and the hassle of waiting for a professional plumber. You can do many small plumbing chores with the correct tools, depending on your level of familiarity with DIY repairs. Many of these incorporate water-saving upgrades that can save you a lot of money in the long term. Some plumbers will even assist you through the process, especially if you have previously used their services. EnoughInfo.com
Read Also: How To Unclog A Double Kitchen Sink
Regular maintenance, such as checking for leaks, keeping drains clear, and addressing issues promptly, can help prevent major plumbing problems. It’s also a good idea to schedule periodic professional inspections to identify and address any potential issues before they escalate. How To Play The Saxophone For Beginners
By empowering yourself with the knowledge and skills to handle basic plumbing repairs, you can maintain a smoothly functioning plumbing system and enjoy the satisfaction of being able to resolve common plumbing issues on your own.
FAQs & Answers on How To Do Basic Plumbing Repairs
1. What do I do if my toilet keeps running?
A running toilet is usually caused by a faulty flapper or a fill valve. First, check and adjust the flapper or replace it if it’s damaged. If the problem persists, consider replacing the fill valve.
2. How can I unclog a sink drain?
Begin by using a plunger to dislodge the clog. If that doesn’t work, try pouring a mixture of hot water and dish soap down the drain. For stubborn clogs, use a plumbing snake or drain auger to clear the blockage.
3. What should I do if my water pressure is low?
Low water pressure can be caused by various factors. Start by checking if the shut-off valves are fully open. If that’s not the issue, clean or replace clogged aerators and showerheads. If the problem persists, there may be a hidden leak or a more significant plumbing problem that requires professional attention.
4. How do I fix a leaking pipe?
If you encounter a leaking pipe, turn off the water supply immediately. Apply a pipe repair clamp or use epoxy putty to seal the leak temporarily. It’s essential to call a professional plumber to assess and fix the pipe properly.
5. How can I prevent frozen pipes in winter?
To prevent frozen pipes, insulate exposed pipes, especially in unheated areas like basements and attics. Allow a small trickle of water to run from faucets during extremely cold weather. Keep the thermostat at a consistent temperature both day and night.
Read Also: How To Do Basic Home Repairs
A Comprehensive Guide: Basic Plumbing Repairs Made Easy
In this article, we will provide a comprehensive guide on how to tackle common plumbing problems. While complex issues may require professional assistance, many minor repairs can be easily handled by any determined DIY enthusiast. How To Create A DIY Home Renovation Plan
Essential Tools for Basic Plumbing Repairs
Before diving into repairs, it’s crucial to have the right tools on hand. Here are some essential tools you’ll need:
- Plunger: The trusty plunger is ideal for unclogging toilets and drains.
- Adjustable wrench: Used for tightening or loosening various plumbing fixtures.
- Pipe wrench: A heavier wrench with serrated jaws, used for gripping and turning pipes.
- Screwdrivers: Flathead and Phillips screwdrivers for removing screws.
- Pipe cutter: Handy for cutting pipes to the desired length.
- Plumber’s tape: A versatile tool used to create watertight seals.
- Auger or plumber’s snake: Used to unclog stubborn blockages in drains and pipes.
- Bucket and rags: To catch water and clean up any spills.
1. Fixing A Leaky Faucet
A leaky faucet can waste a significant amount of water and increase your utility bills.
Follow these steps to fix it:
Step 1. Turn off the water supply
Locate the shut-off valve beneath the sink and turn it clockwise to stop the water flow.
Step 2. Disassemble the faucet
Remove the decorative cap, handle screw, and handle. Use pliers or an adjustable wrench to unscrew the valve assembly. How To Organize A Pantry(The Ultimate Guide)
Step 3. Replace the faulty parts
Check the washer and O-ring for wear and tear. Replace them if necessary. Ensure you match the new parts with the old ones.
Step 4. Reassemble the faucet
Put everything back in reverse order, ensuring everything is tightened properly.
Step 5. Turn on the water supply
Slowly turn on the water supply and check for any leaks. If the leak persists, you may need to replace the entire faucet.
Read Also: How to fix a leaky faucet(The Ultimate Guide)
2. Fixing a Clogged Drain
Clogged drains are a common nuisance in households. Here’s how you can tackle the problem effectively:
Step 1. Remove visible debris
Start by manually removing any visible debris from the drain opening using gloves or a small tool.
Step 2. A plunger
Place a plunger over the drain and create a tight seal. Push and pull the plunger vigorously to dislodge the clog. Repeat this process several times if necessary.
Step 3. Try a drain snake
If the plunger doesn’t work, use a drain snake or an auger. Insert it into the drain and rotate it while pushing forward. This will help break up or retrieve the blockage. How To Play The Drums For Beginners
Step 4. Natural remedies
If the clog is due to organic material, you can try pouring boiling water, a mixture of vinegar and baking soda, or a commercial drain cleaner down the drain. Follow the instructions on the product carefully and exercise caution.
3. Repairing a Running Toilet
A running toilet can waste a significant amount of water over time. Here’s how to fix it:
Step 1. Identify the problem
Lift the toilet tank lid and observe the components inside. The issue could be a faulty flapper, fill valve, or overflow tube.
Step 2. Adjust the flapper chain
If the flapper doesn’t seal properly, adjust the chain connecting it to the flush handle. Ensure the chain has a little slack but doesn’t tangle or get caught under the flapper.
Step 3: Replace the flapper
If adjusting the chain doesn’t solve the issue, you may need to replace the flapper. Turn off the water supply to the toilet, flush to drain the tank, and remove the old flapper. Install the new flapper according to the manufacturer’s instructions.
Step 4. Check the fill valve
If the toilet continues to run, the fill valve may be the problem. Adjust the water level by turning the adjustment screw or replacing the fill valve if necessary.
Step 5. Inspect the overflow tube
Ensure the water level in the tank is below the overflow tube. If it’s too high, adjust the float or bend the float arm slightly to lower the water level.
Read Also: How To Clean Grout Between Tiles
4. Fixing a Dripping Showerhead
A dripping showerhead not only wastes water but can be annoying. Here’s how to fix it:
Step 1. Turn off the water supply
Locate the shut-off valve for the shower and turn it off. If there isn’t a separate valve, turn off the main water supply to the house.
Step 2. Remove the showerhead
Unscrew the showerhead from the shower arm using an adjustable wrench. Use a cloth or tape to protect the showerhead’s finish from scratches.
Step 3. Clean and inspect the components
Disassemble the showerhead and clean any mineral deposits or debris from the parts. Check the washer and O-ring for damage and replace if necessary.
Step 4. Apply plumber’s tape
Wrap the plumber’s tape clockwise around the threads of the shower arm to create a watertight seal when reattaching the showerhead.
Step 5. Reattach the showerhead
Screw the showerhead back onto the shower arm, ensuring it is tightened securely but not overly tight.
Step 6. Turn on the water supply
Slowly turn on the water supply and check for any leaks. If the dripping persists, consider replacing the showerhead.
5. Installing a Kitchen or Bathroom Faucet
Whether you’re replacing an old faucet or installing a new one, here’s a step-by-step guide to help you through the process: How To Make A Vegetarian Meal(The Ultimate Guide)
Step 1. Gather the necessary tools and materials and turn off the water supply
Before starting the installation, ensure you have all the required tools and materials mentioned above. Additionally, locate the shut-off valves under the sink and turn them clockwise to shut off the water supply.
Step 2. Disconnect the old faucet
Place a bucket or towel under the sink to catch any residual water. Using an adjustable wrench or channel locks, disconnect the water supply lines from the old faucet. You may need to use a basin wrench to remove the mounting nuts holding the faucet in place. Once disconnected, lift the old faucet out of the sink and clean the area thoroughly.
Step 3. Prepare the new faucet
Take the new faucet out of its packaging and read the manufacturer’s instructions carefully. Identify the different components and familiarize yourself with their functions. If necessary, assemble any parts according to the instructions provided.
Step 4. Install the new faucet
Position the new faucet through the holes in the sink. From underneath the sink, secure the faucet in place using the mounting nuts provided, tightening them with a basin wrench. Be careful not to overtighten, as it can damage the faucet or the sink.
Step 5. Connect the water supply lines
Attach the water supply lines to the corresponding hot and cold valves under the sink. Hand-tighten them first and then use an adjustable wrench to ensure they are securely in place. Take care not to overtighten, as it can cause leaks or damage the fittings.
Step 6. Apply plumber’s tape
Wrap the plumber’s tape or Teflon tape clockwise around the threads of the water supply connections on the faucet. This helps create a watertight seal and prevents leaks.
Step 7. Turn on the water supply
Once everything is securely connected, turn on the water supply by turning the shut-off valves counterclockwise. Slowly open the faucet handles to allow water to flow through and check for any leaks. If you notice any leaks, tighten the connections slightly until the leak stops.
Step 8. Apply silicone sealant (optional)
If there are gaps between the base of the faucet and the sink, you can apply a thin bead of silicone sealant to create a watertight seal. Smooth out the sealant using your finger or a caulking tool and wipe away any excess with a rag.
Step 9. Clean up and test the faucet
Remove the bucket or towel from under the sink and clean up any remaining debris or water. Turn on the faucet and check for proper water flow and functionality. Ensure both hot and cold water handles are working as intended.
Read Also: How To Unclog A Double Kitchen Sink
6. Replacing Kitchen Sink Sprayer
Step 1. Gather the necessary tools and materials
Make sure you have all the required tools and materials mentioned above. Before starting the replacement, it’s a good idea to turn off the water supply to the sink using the shut-off valves located under the sink.
Step 2. Remove the old sprayer
Start by disconnecting the existing sprayer from the sink. Most sprayers will have a quick-connect coupling or a threaded connection. If it’s a quick-connect coupling, squeeze the tabs on the coupling and pull the sprayer away from the hose. If it’s a threaded connection, use an adjustable wrench to unscrew the sprayer from the hose.
Step 3. Disconnect the hose
Once the sprayer is removed, locate the connection point of the hose under the sink. It’s usually connected to the base of the faucet or a diverter valve. Use an adjustable wrench to loosen the connection and disconnect the hose from the faucet or diverter valve. Be prepared for some residual water to come out, so have a towel or rag handy to catch any drips. How To Style Curly Hair (The Ultimate Guide)
Step 4. Prepare the new sprayer
Take the new sprayer kit out of its packaging and inspect the components. If necessary, follow the manufacturer’s instructions to assemble any parts that come in separate pieces. Ensure that the new sprayer head, hose, and mounting hardware are included and in good condition.
Step 5. Connect the new hose
Starting from the connection point under the sink, attach the new hose to the faucet or diverter valve. Use an adjustable wrench to tighten the connection securely, but avoid over-tightening, as it can damage the fittings. Ensure the connection is watertight.
Step 6. Install the new sprayer head
Take the new sprayer head and insert the hose end into the sprayer head fitting. If it’s a quick-connect coupling, push the hose into the fitting until it clicks into place. If it’s a threaded connection, use an adjustable wrench to tighten the connection. Again, avoid over-tightening.
Step 7. Test the new sprayer
Turn on the water supply to the sink by opening the shut-off valves. Test the new sprayer by pressing the trigger or handle and check for proper water flow and functionality. Ensure there are no leaks around the connections. If you notice any leaks, tighten the connections slightly until the leak stops.
Step 8. Apply plumber’s tape
If there are threaded connections between the hose and the faucet or sprayer head, apply a few wraps of the plumber’s tape clockwise around the threads. This helps create a watertight seal and prevents leaks.
7. Caulking Bathtubs and Showers
Step 1. Prepare the area
Before starting, make sure the bathtub or shower area is clean and dry. Remove any old caulk using a caulk remover, razor blade, or putty knife. Clean the area thoroughly to remove any residue, soap scum, or mildew. If there is mildew present, use a mildew cleaner or a bleach solution to treat the affected areas. Rinse and dry the surface completely.
Step 2. Choose the right caulk
Select a silicone caulk that is specifically designed for bathrooms, waterproof, and mildew-resistant. Silicone caulk is flexible, durable, and provides an excellent seal. Avoid using acrylic or latex caulks as they are not as suitable for wet environments and may not provide long-lasting results.
Step 3. Prepare the caulk gun
Load the caulk tube into the caulk gun by pulling back the rod and sliding the tube into the gun with the nozzle facing forward. Cut the tip of the caulk tube at a 45-degree angle, making a small opening. The size of the opening will depend on the width of the gap you need to fill. Start with a small opening and make it larger if necessary.
Step 4. Apply the caulk
Hold the caulk gun at a 45-degree angle and apply a steady and even bead of caulk along the joint between the bathtub or shower and the wall or floor. Start at one end and work your way to the other, maintaining a consistent flow of caulk. Apply enough caulk to fill the gap without overdoing it. It’s better to apply too little and add more if needed.
Step 5. Smooth the caulk
With a clean finger or a caulk smoothing tool, smooth the caulk along the joint. Wetting your finger or the tool with water or a mixture of water and mild dish soap can help achieve a smooth finish. Remove any excess caulk and create a neat and even line. Wipe away any excess caulk with a clean cloth or rag.
Step 6. Let the caulk dry
Allow the caulk to dry according to the manufacturer’s instructions. This typically takes 24 to 48 hours. During this time, avoid using the bathtub or shower to ensure the caulk fully cures and provides a proper seal.
Step 7. Optional: Use painter’s tape
If you want to achieve a straight and clean caulk line, you can apply painter’s tape along the edges of the joint before applying the caulk. Once you have smoothed the caulk, carefully remove the painter’s tape for a sharp and professional-looking finish.
8. Sump Pump Repair
Step 1. Safety first
Before starting any work on your sump pump, ensure your safety. Disconnect the power to the sump pump by unplugging it from the electrical outlet or shutting off the circuit breaker that supplies power to it. It’s crucial to avoid any risk of electric shock while working on the pump.
Step 2. Inspect the sump pump
Carefully examine the sump pump to identify any visible issues or damage. Check the power cord for any fraying or damage. Inspect the float switch and ensure it moves freely and is not obstructed. Look for any loose connections or signs of corrosion.
Step 3. Check the discharge pipe and valve
Inspect the discharge pipe and valve connected to the sump pump. Ensure there are no clogs or obstructions in the pipe that could prevent water from flowing freely. Check the valve for proper operation and make sure it is not stuck or damaged.
Step 4. Clean the sump pit
Remove any debris or sediment that has accumulated in the sump pit. Use a bucket or towels to scoop out the water and remove any sludge or dirt. Keeping the sump pit clean helps the pump operate efficiently and prevents clogs.
Step 5. Test the float switch
Gently lift the float switch or float arm to see if the sump pump activates. If the pump doesn’t turn on or doesn’t shut off when the float is lifted, it may indicate a problem with the switch or the pump’s electrical connections.
Step 6. Clean or replace the impeller
The impeller is responsible for pumping water out of the sump pit. Over time, it can become clogged with debris, affecting the pump’s performance. If you notice reduced flow or unusual noises, remove the impeller cover and clean the impeller using a soft brush or cloth. If the impeller is damaged or worn, consider replacing it.
Step 7. Check and replace the check valve
The check valve prevents water from flowing back into the sump pit once it has been pumped out. If you notice water flowing back into the pit when the pump is not running, it may indicate a faulty check valve. Remove the check valve and inspect it for any obstructions or damage. Replace it if necessary.
Step 8. Reassemble and test the sump pump
After completing the necessary repairs or replacements, reassemble the sump pump components and ensure all connections are secure. Plug the pump back into the power outlet or turn on the circuit breaker. Pour water into the sump pit to test the pump’s operation. The pump should activate and pump out the water. Monitor its performance to ensure it is functioning correctly.
Read Also: How To Start A Car With A Bad Fuel Pump
Step 9. Maintain the sump pump
To keep your sump pump in good working condition, perform regular maintenance tasks. This includes cleaning the pump and sump pit, checking the float switch, testing the pump periodically, and ensuring the discharge pipe and valve is clear and functional. How To Clean A Clogged Drain
9. Garbage Disposal Repair
Here’s a step-by-step guide on how to repair a garbage disposal:
Step 1. Safety first
Before starting any work on your garbage disposal, ensure your safety. Turn off the power to the disposal by unplugging it from the electrical outlet or shutting off the circuit breaker that supplies power to it. This is crucial to prevent any risk of injury while working on the unit.
Step 2. Clearing clogs
If your garbage disposal is not draining or is making a humming noise, it may indicate a clog. Start by using a plunger to loosen and dislodge any debris or food particles causing the obstruction. Place the plunger over the drain opening and create a tight seal. Pump the plunger vigorously several times to try and dislodge the clog.
Step 3. Reset the disposal
If the disposal is not working at all, locate the reset button on the bottom or side of the unit. Press the reset button firmly to reset the motor and restore power to the disposal. This can often resolve minor issues and get the disposal running again. How To Start A Successful Podcast
Step 4. Check for jammed impellers
If the disposal is still not working or is making a grinding noise, it may have jammed impellers. Use an Allen wrench to manually rotate the impellers inside the disposal. Insert the wrench into the center socket on the bottom of the disposal and turn it clockwise and counterclockwise. This can help dislodge any obstructions and free the impellers.
Step 5. Clean and deodorize
To eliminate odors and clean the garbage disposal, create a mixture of baking soda and vinegar. Sprinkle half a cup of baking soda into the disposal, followed by half a cup of vinegar. Let the mixture sit for a few minutes to fizz and neutralize odors. Then, flush the disposal with hot water. Alternatively, you can run the disposal with lemon or citrus peels to freshen the unit.
Step 6. Inspect and tighten connections
Check the connections between the disposal and the sink drain for any leaks or loose fittings. Use pliers or a screwdriver to tighten any loose connections. If you notice leaks, you may need to replace the rubber gasket or the flange.
Step 7. Test the disposal
Once you have completed the necessary repairs and maintenance, turn the power back on to the disposal. Run water into the sink and turn on the disposal to test its functionality. Ensure that it is operating smoothly without any unusual noises or leaks.
Step 8. Replace faulty parts (if necessary)
If you have identified specific components that are damaged or worn, such as blades, impellers, or the motor, you may need to replace those parts. Follow the manufacturer’s instructions for replacing the faulty components or consider seeking professional assistance if you are not comfortable with the task.
10. Upgrading Showerheads
Step 1. Choose a new showerhead
Before starting the upgrade process, select a new showerhead that suits your preferences and requirements. Consider factors such as water pressure, spray pattern options, water conservation features, and ease of installation. Make sure the new showerhead is compatible with your existing shower arm.
Step 2: Turn off the water supply
Locate the water shut-off valve for your shower. It is typically located near the shower or in the basement. Turn off the water supply to the shower to prevent any water flow during the replacement process.
Step 3. Remove the existing showerhead
Using an adjustable wrench, grip the showerhead firmly and turn it counterclockwise to loosen and remove it from the shower arm. If the showerhead is stuck or difficult to remove, you can use a soft cloth or rag to protect the finish and provide extra grip while loosening it.
Step 4. Clean the shower arm
Once the old showerhead is removed, inspect the shower arm for any mineral deposits or debris. Clean the threads of the shower arm using a soft cloth or rag to ensure a proper seal with the new showerhead.
Step 5. Apply pipe tape
To create a watertight seal, wrap the threads of the shower arm with pipe tape (plumber’s tape). Start at the base of the threads and wrap the tape in a clockwise direction, overlapping each wrap slightly. Ensure that the tape covers the entire threaded portion of the shower arm.
Step 6. Install the new showerhead
Screw the new showerhead onto the shower arm by turning it clockwise. Hand-tighten the showerhead initially, and then use an adjustable wrench to give it an extra quarter-turn to ensure a snug fit. Be careful not to overtighten, as it may damage the showerhead or shower arm.
Step 7. Check for leaks
Turn on the water supply to the shower by reopening the shut-off valve. Slowly turn on the shower to check for any leaks around the connections. If you notice any leaks, tighten the connections slightly or wrap additional pipe tape to achieve a watertight seal.
Step 8. Adjust and test the new showerhead
Once the showerhead is securely installed, adjust the spray pattern and flow settings according to your preferences. Test the new showerhead to ensure it delivers the desired water pressure and spray pattern. Make any necessary adjustments or modifications based on your personal preferences.
Conclusion
Basic plumbing repairs can be tackled by any homeowner with a little knowledge and the right tools. By understanding these simple repair techniques, you can save money on plumbing services and gain the satisfaction of maintaining your home. However, it’s important to recognize your limitations and know when to call a professional plumber for more complex or extensive plumbing issues. With a little practice and confidence, you’ll be able to handle most minor plumbing repairs with ease, ensuring your household functions smoothly and efficiently.]
Recommended;
How To Clean Resin Molds(All you Need To Know)