How to tie a tie: Many people find the concept of tying a tie scary, so don’t worry! You, too, can become a knot-tying pro with a little practise and patience. Learning how to wear a tie is a vital skill whether you’re dressed up for a formal occasion or simply want to add a bit of elegance to your everyday attire. We’ll lead you through the procedure step by step in this post, so you can tie the perfect knot with confidence. EnoughInfo.com
Read Also: How To Fray Shorts (The Ultimate Guide)
FAQs & Answers
1. What are the various sorts of tie knots?
The Windsor knot, Half-Windsor knot, Four-in-Hand knot, and Pratt knot are all popular tie knots. Each knot has a distinct style and level of formality. How To Make Homemade Pizza Dough
2. What type of tie knot should I use?
The tie knot you use is determined by personal preference, the collar type of your shirt, and the occasion. The Windsor knot is a traditional, formal knot that works well with wide spread collars, but the Four-in-Hand knot is adaptable and fits with most collar types.
3. What length should my tie be?
The wide end of the tie should be around your belt buckle, and the narrow end should be about 12 inches below it. To attain the ideal look and balance, adjust the length as needed. How To Cook Scrambled Eggs (Step By Step)
4. How can I keep my tie from getting too tight or too loose?
Be careful not to overtighten the knot, as this can be painful and hinder movement. It’s critical to get the appropriate balance so that the knot is snug but not restrictive.
Read Also: How To Look Fresh (The Ultimate Guide)
5. Can I tie my own tie?
It is perfectly possible to tie a tie by yourself. You’ll be able to tie a tie confidently without any assistance if you practise and follow the step-by-step instructions.
6. Are there any methods or strategies for tying a tie that make it easier?
One useful tip is to tie your tie while looking in the mirror. This will help you to see the process from a different perspective, making it easier to follow along. Furthermore, practising the knot a few times before a big event will assist create muscle memory and make the process go more smoothly. How To Start A Blog For Free (A Beginner’s Guide)
7. What is the proper way to untie a tie?
To unwind a tie, simply reverse the knot-tying steps. Begin by carefully pushing the narrow end of the loop out of the loop, then loosen the knot by gently dragging the broad end of the loop down through the loop, and finally, uncoil the tie from around your neck.
8. Can I use a tie that has already been tied?
Pre-tied ties are available and can be useful for folks who do not feel comfortable tying knots. They are, however, considered less formal and lack the attractive appearance of a well-tied knot.
Read Also: How to tie a bowline knot(The Ultimate Guide)
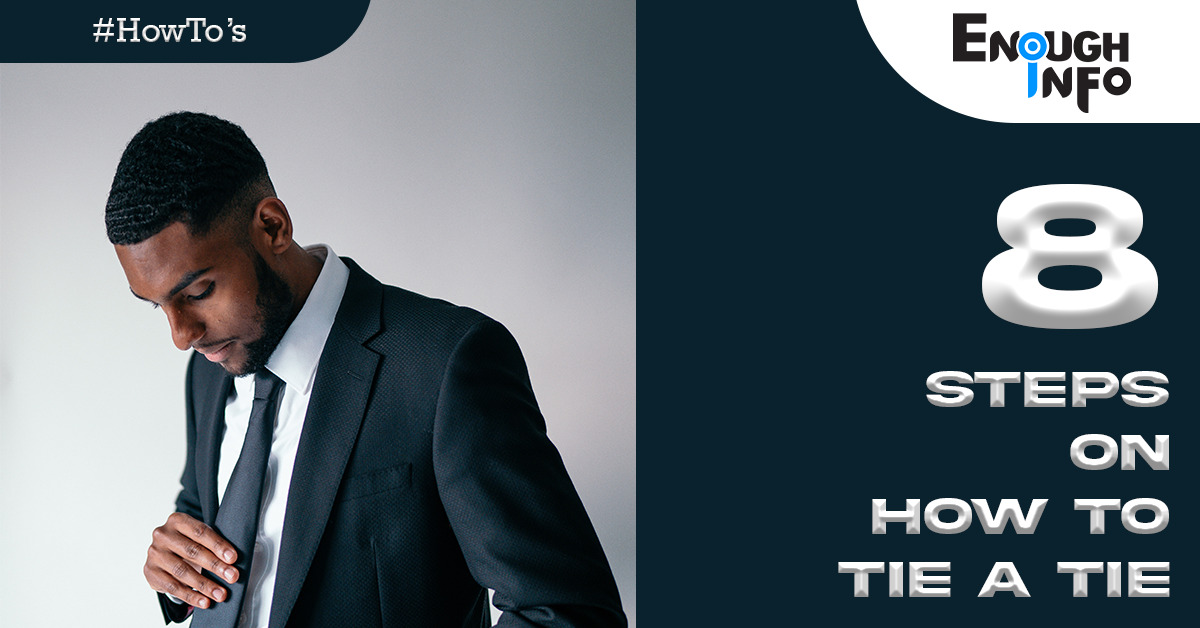
How to tie a tie (A Step-by-Step Guide)
Step 1: Begin with the Correct Length
Before you begin, make sure your tie is the proper length. The wide end of the tie should be about 12 inches below your belt buckle, while the thin end should be around 12 inches above it. Pull the narrow end through the loop on the backside of the broad end to adjust the length. How To Shrink Leggings (All you need to Know)
Step 2: Cross and Cross Once More
Begin by crossing the tie’s wide end over the narrow end. Bring the wide end underneath the small end and up and over, crossing it again. The narrow end should now be visible, while the wide end should still be visible on top.
Read Also: How to organize your closet(Step by Step)
Step 3: Construct a Loop
Bring the wide end horizontally across the front from right to left, with the broad end still on top. This move creates a loop in the centre of your collarbone.
Step 4: Complete the Loop
Pass the tie down’s broad end through the loop you just made in Step 3. Hold the loop with your index and thumb to prevent it from loosening as you go. How to write a thank-you letter
Step 5: Tighten the Knot
Pull the wide end gently down through the loop while keeping a tight grip on the narrow end. Slide the knot up towards your collar as it tightens. Make sure the knot is centred and snug, but not too tight, to allow for comfort.
Read Also: How To Do A Basic Makeup Look (9 Good Steps)
Step 6: Adjust and Straighten
After tightening the knot, straighten it by holding the knot with one hand and pulling on the thin end with the other. Adjust the knot so that it sits neatly against your collar and the tie ends hang evenly. How To Make A Paper Boat
Step 7: The Final Touches
Tuck the narrow end of the tie into the loop on the backside of the wide end to finish the operation. This loop will keep your tie in place all day, preventing it from unravelling or getting crooked.
Read Also: How To Sew A Button (Step-By-Step Guide)
Conclusion:
Congratulations! You have perfected the skill of tying a tie. Remember that practise makes perfect, so don’t give up if it takes a few tries to get it properly. With practise, you’ll be able to tie a tie with ease and confidence. Tie-tying is a timeless art that lends sophistication and class to any outfit. The skill to tie a beautiful knot is a vital asset, whether it’s for a job interview, a formal function, or a routine day at the office. So, embrace the art of tie-tying and take your style to new heights.
Recommended;
How To Stop Feeling Insecure About Your Body
11 Benefits of Organic Skincare for Sensitive Skin