How To Remove Wallpaper Easily(The Ultimate Guide)
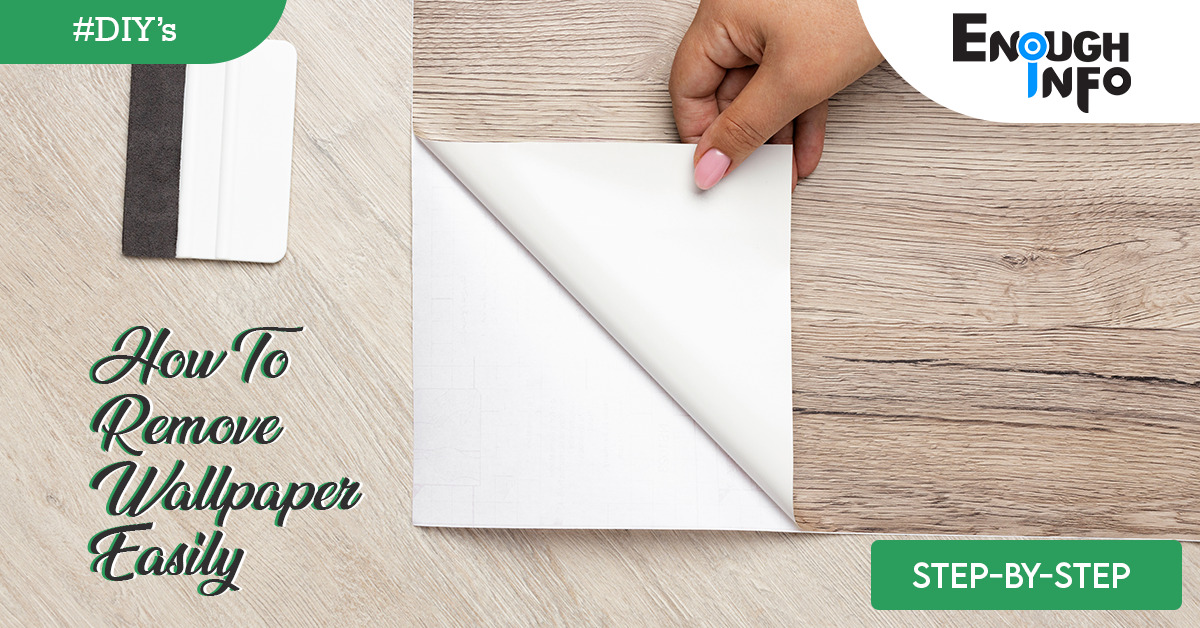
How To Remove Wallpaper Easily: Removing wallpaper can be a daunting task, but with the right tools, techniques, and a little patience, you can transform your walls and give your space a fresh new look. What goes up must come down when it comes to wallpaper. If you’re ready to revamp your walls, the first step is to learn how to remove wallpaper. Experts agree that whether you’re painting or re-papering with fresh wallpaper, removing the old paper is critical. Fortunately, you don’t need to pay a pro—it’s a one-day DIY effort. EnoughInfo.com

Read Also: How To Drill Into Stucco(Step by Step)
Whatever type of wallpaper you have, we’ll show you how to remove it as easily as possible. The specifics of these removal procedures differ (and there is no one optimal way to remove wallpaper), but they will all successfully remove difficult wallpaper and leave you with a smooth and unharmed wall surface—perfect for your remodelling dreams. Continue reading to learn how to remove wall coverings without damaging your walls. How To Do A Basic Self-Defense Move
FAQs & Answers on How To Remove Wallpaper Easily
1. Do I need professional help to remove wallpaper?
In most cases, removing wallpaper can be done as a DIY project. However, if you’re unsure or uncomfortable with the process, or if you’re dealing with delicate or valuable walls, it’s best to consult with a professional. They can provide guidance, ensure proper techniques are used, and help minimize any potential damage to the walls.
2. Can I remove wallpaper without using a stripping solution?
While a stripping solution can make the wallpaper removal process easier, it is possible to remove wallpaper without it. You can try using hot water and fabric softener or a mixture of vinegar and hot water as alternatives. However, keep in mind that these methods may require more effort and may not be as effective, especially for stubborn or multiple layers of wallpaper.
Read Also: How To Do Basic Home Repairs
3. What if the wallpaper is peeling or damaged?
If the wallpaper is already peeling or damaged, it may be easier to remove. You can use a scraper or putty knife to gently lift and remove the loose sections of wallpaper. However, be cautious not to damage the underlying wall surface in the process.
4. Should I rent a wallpaper steamer for the removal process?
Renting a wallpaper steamer can be helpful, especially if you’re dealing with stubborn or heavily-adhered wallpaper. The steam helps to loosen the adhesive, making the removal process easier. However, it’s not always necessary, and you can achieve successful results using other methods, such as the stripping solution and scoring techniques.
5. How can I remove wallpaper from textured walls?
Removing wallpaper from textured walls requires extra care and attention. Use a wallpaper scoring tool to create small punctures in the wallpaper, ensuring the scoring tool reaches the adhesive beneath the texture. Apply the stripping solution generously and allow it to penetrate the punctures. Use a plastic scraper or putty knife to gently lift and remove the wallpaper, being careful not to damage the textured surface. How To Bake A Cake From Scratch
6. What should I do if the wallpaper leaves behind a residue on the wall?
If the wallpaper leaves behind a residue on the wall, dampen a sponge or cloth with warm water and gently scrub the affected area. You can also use a mild adhesive remover or a mixture of warm water and vinegar to help dissolve and remove the residue. Be sure to rinse the wall thoroughly and allow it to dry before proceeding with any repairs or wall treatments.
Read Also: How to start a vegetable garden
First Step Before Anything Else
Clear the Area and Prepare it for DIY Wallpaper Removal
Begin by removing items from the walls and relocating furniture to the centre of the room or, if possible, out of the room. Drop cloths should be used to keep the flooring and remaining furnishings from getting wet.
Turn off the power
Turn off the electricity in the room and use painter’s tape to cover any electrical outlets or light switches. (Note: You can easily come back later and add wallpaper to your outlet covers so they fit into the walls—or pick a fun contrasting print so they stand out. Remove the wall plates and cut a piece of wallpaper about half an inch larger on all sides, glueing the paper on with Mod Podge, carefully trimming the edges and adding plug slots with a razor knife, and then reattaching the plates to the wall. Voilà!)
Choose Your Wall and Wallpaper Type
Before you begin peeling, you should determine if your walls are plaster or plasterboard. Plasterboard can be destroyed if it becomes too wet, so avoid oversoaking it. It’s also critical to know what kind of wallpaper you’re working with. Loosen a corner of the paper with a putty knife and try to peel it off. If it easily peels away, you have strippable wallpaper. This may be the simplest method for removing wallpaper. Peelable wallpaper is defined as wallpaper that peels away but leaves a paper backing. If the paper will not budge, you have classic wallpaper that must be removed with water and a chemical stripper. You’ll find simple directions for removing your wallpaper below. How To Style Long Hair For A Special Occasion
The Ultimate Guide: How to Easily Remove Wallpaper
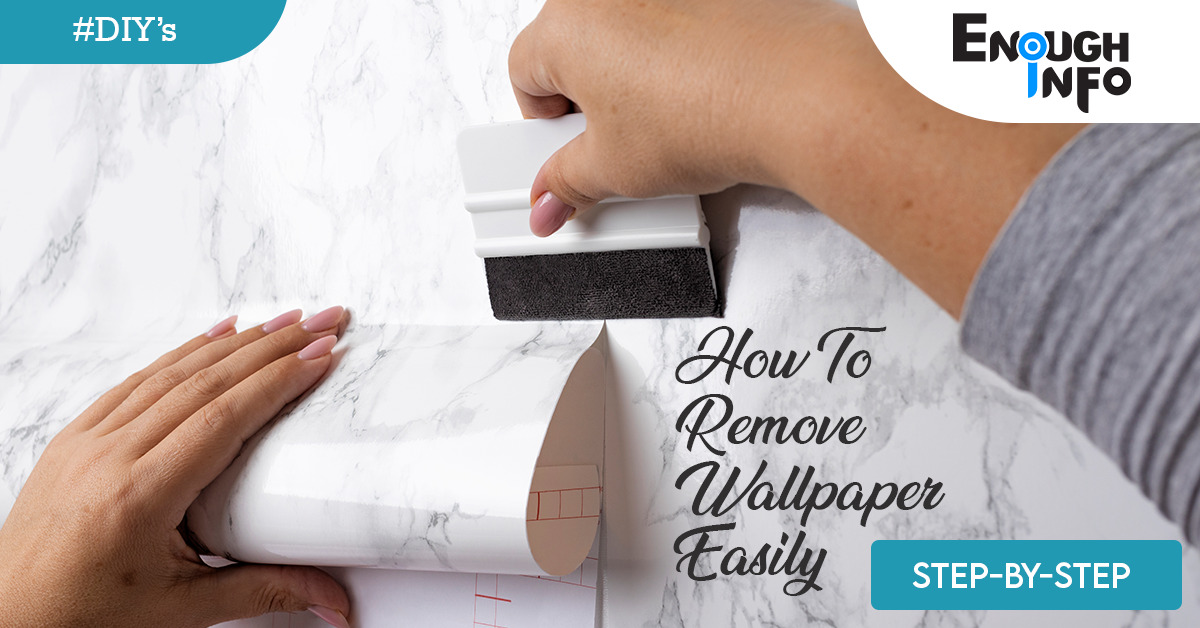
Whether you’re preparing to paint, change the wallpaper, or update your decor, this comprehensive guide will walk you through the step-by-step process of removing wallpaper easily and efficiently.
Materials Needed: Before you begin, gather the following materials:
- Drop cloths or plastic sheets to protect the floor and furniture.
- Masking tape to secure the protective coverings.
- Wallpaper scoring tool or a utility knife with a scoring blade.
- Wallpaper stripping solution or a mixture of warm water and liquid dish soap.
- Pump sprayer or sponge for applying the stripping solution.
- Plastic scraper or putty knife with a wide, flat blade.
- Bucket of warm water for rinsing the walls.
- Sponge or sponge mop for wiping the walls.
- Sandpaper or a sanding block for smoothing the wall surface.
- Patching compound and a putty knife for repairing any wall imperfections.
Read Also: How To Create A DIY Home Renovation Plan
Step 1:
Prepare the Room Start by removing any furniture or decorations from the walls and covering the floor and furniture with drop cloths or plastic sheets. Secure them in place using masking tape to prevent any damage or mess during the wallpaper removal process. How To Do A Basic Makeup Tutorial For Beginners
Step 2:
Test a Small Area Before diving into the entire wall, test a small inconspicuous area to determine the type of wallpaper you’re dealing with and the best removal method. Gently score the wallpaper surface with a wallpaper scoring tool or a utility knife, being careful not to damage the wall behind it. Apply a small amount of the stripping solution and wait for a few minutes to see how the wallpaper reacts.
Step 3:
Score the Wallpaper Using a wallpaper scoring tool or a utility knife with a scoring blade, create small punctures or slits in the wallpaper. This will allow the stripping solution to penetrate and loosen the adhesive, making the removal process easier. Be cautious not to press too hard to avoid damaging the wall underneath. How To Style Long Hair For A Special Occasion
Step 4:
Apply the Stripping Solution Prepare the stripping solution according to the manufacturer’s instructions or create a mixture of warm water and liquid dish soap. Fill a pump sprayer or a sponge with the solution and saturate the scored wallpaper. Allow the solution to penetrate for the recommended time, usually around 15 minutes, to dissolve the adhesive.
Step 5:
Start Removing the Wallpaper Once the stripping solution has had time to work, begin removing the wallpaper. Use a plastic scraper or putty knife with a wide, flat blade to gently lift and peel the wallpaper away from the wall. Start at a corner or an edge and work your way across the wall, applying steady and even pressure. Be patient and take care not to damage the wall surface.
Step 6:
Repeat the Process if Necessary In some cases, especially with multiple layers of wallpaper or stubborn adhesive, you may need to repeat steps 4 and 5 to fully remove the wallpaper. Apply more stripping solution as needed and allow it to sit for the recommended time before attempting to remove the remaining layers.
Step 7:
Remove Residual Adhesive After all the wallpaper has been removed, there may still be adhesive residue left on the walls. To remove it, dampen a sponge or sponge mop with warm water and gently scrub the walls. The warm water will help dissolve the remaining adhesive, making it easier to wipe away. Change the water as needed and continue until the walls are clean and adhesive-free.
Step 8:
Repair and Prepare the Walls Inspect the walls for any damages or imperfections. Use sandpaper or a sanding block to smooth any rough areas or leftover adhesive residue. If there are any holes, cracks, or dents, fill them with patching compound using a putty knife. Allow the compound to dry completely, then sand it down until it’s flush with the wall surface.
Step 9:
Clean and Finish Up Once the walls are smooth and free of adhesive residue, wipe them down with a clean, damp sponge or cloth to remove any remaining dust or debris. Allow the walls to dry completely before proceeding with your desired wall treatment, such as painting or applying new wallpaper. How To Do A Basic Makeup Tutorial For Beginners
Read Also: How To Clean Grout Between Tiles
Tips for Easy Wallpaper Removal:
Prepare and protect the room:
Cover the floor and furniture with drop cloths or plastic sheets to prevent damage. Use masking tape to secure the protective coverings in place.
Test a small area:
Always test a small, inconspicuous area of the wallpaper to determine the best removal method and to avoid any potential damage to the walls. How To Remove Stains From Upholstery
Use the right tools:
Invest in a wallpaper scoring tool or a utility knife with a scoring blade to create small punctures in the wallpaper. This will allow the stripping solution to penetrate and loosen the adhesive more effectively.
Apply the stripping solution generously:
Saturate the wallpaper with the stripping solution, ensuring it has enough time to penetrate and dissolve the adhesive. Follow the manufacturer’s instructions for the recommended soaking time.
Work in sections:
Instead of attempting to remove the entire wallpaper in one go, work in manageable sections. This approach allows you to focus on one area at a time and prevents the wallpaper from drying out before you have a chance to remove it.
Be patient and gentle:
Take your time when removing the wallpaper. Use a plastic scraper or putty knife to lift and peel the wallpaper away gently. Applying too much force can damage the wall underneath. How To Write A Short Story For Beginners
Repeat the process if necessary:
Stubborn or multiple layers of wallpaper may require multiple rounds of stripping solution and removal. Don’t get discouraged—repeat the process as needed until all the wallpaper is removed.
Use warm water for adhesive removal:
Once the wallpaper is gone, use warm water and a sponge or sponge mop to remove any adhesive residue. The warm water will help dissolve the adhesive, making it easier to wipe away.
Repair and prepare the walls:
Inspect the walls for any damages or imperfections. Fill in any holes or cracks with patching compound, and sand down the surface until it’s smooth and even. How To Write A Short Story For Beginners
Take breaks and stay organized:
Removing wallpaper can be a time-consuming task. Take breaks when needed, stay organized, and keep track of the progress you’ve made to stay motivated.
Read Also: How To Organize A Home Office
Conclusion:
Removing wallpaper doesn’t have to be a daunting task. With the right tools, techniques, and a systematic approach, you can easily remove wallpaper and transform your walls. Remember to prepare the room, test a small area, score the wallpaper, apply the stripping solution generously, and work in manageable sections. Be patient, take your time, and use gentle pressure when removing the wallpaper to avoid damaging the walls. With perseverance and the right steps, you’ll have clean, adhesive-free walls ready for your next wall treatment. How To Train A Dog To Shake Hands
Recommended;
How to create a DIY garden trellis
How To Create A DIY Home Decor
15 Simple Ways To Build Your Savings (Ultimate Guide 2023)

