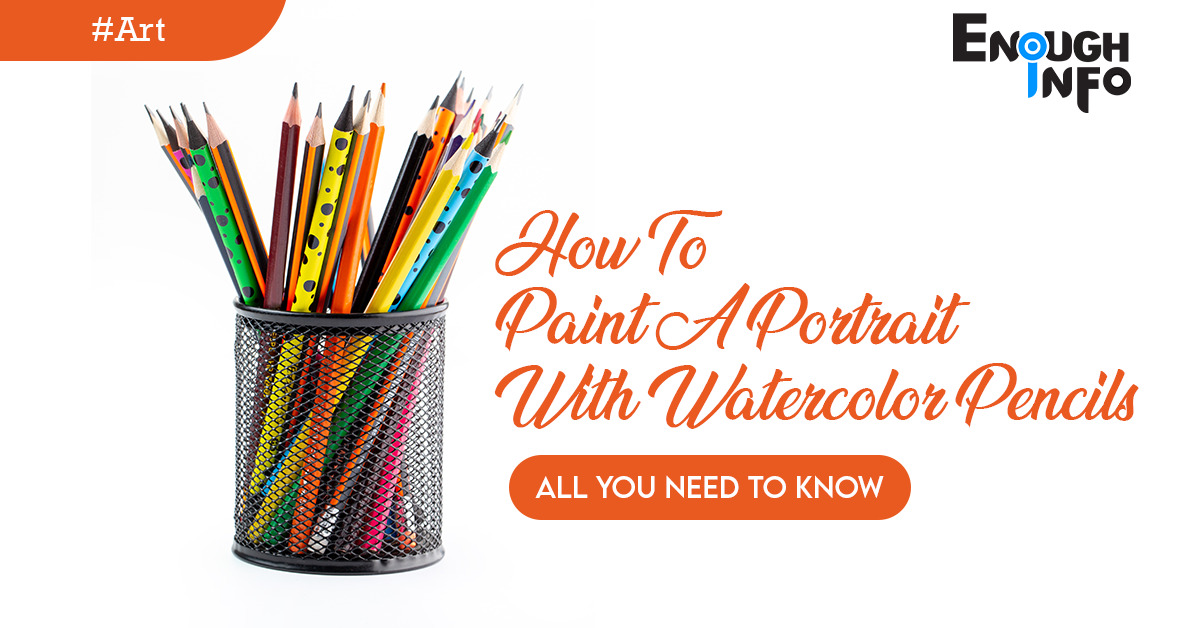
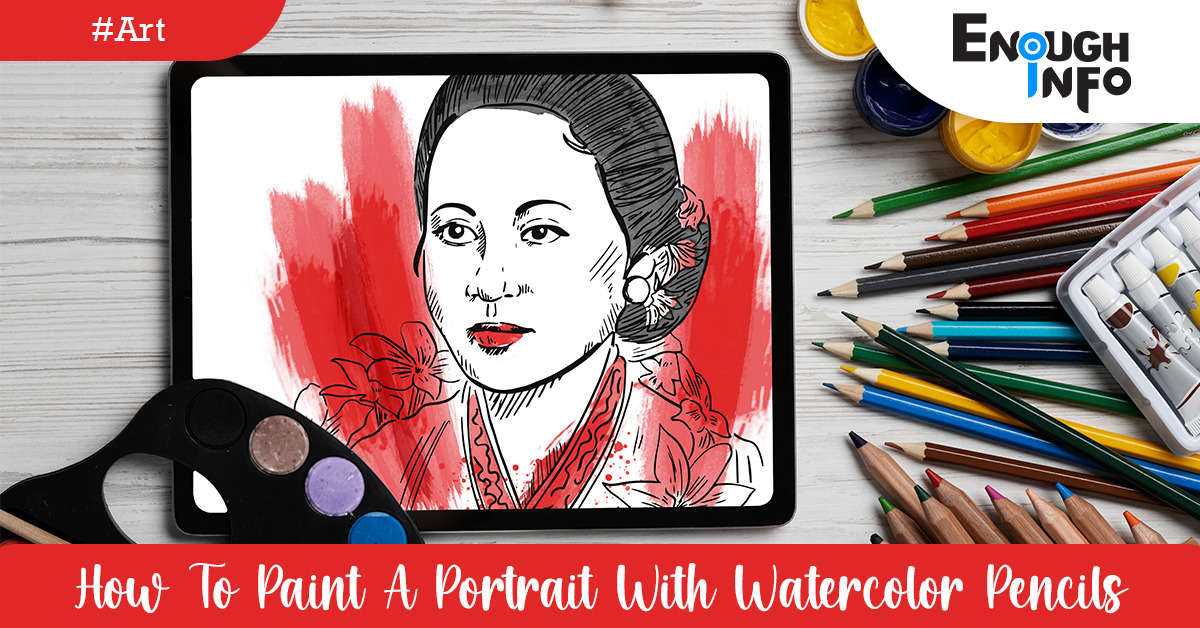
How To Paint A Portrait With Watercolor Pencils: Watercolor pencils offer a unique and versatile approach to painting portraits. Their ability to blend and create vibrant washes makes them a popular choice among artists. Watercolor pencils offer a wide range of expressive possibilities.EnoughInfo.com
Read Also: How To Paint A Landscape With Oil Paints
Artists can create soft and delicate washes, as well as vibrant and intense colors. The ability to layer and blend colors allows for subtle gradations and transitions, bringing depth and dimension to the portrait. Watercolor pencils enable artists to convey emotion and create visually striking portraits. Portraiture has been a significant art form throughout history, allowing artists to capture the essence, personality, and emotions of their subjects. Learning how to paint a portrait with watercolor pencils enables artists to delve into the captivating world of portraiture, honing their observational skills and capturing the intricacies of the human form.
Learning how to paint a portrait with watercolor pencils is important for artists of all levels. It offers versatility, accessibility, and the opportunity for personal growth while engaging in the expressive art form of portraiture. Through this art form, artists can connect with their subjects, evoke emotions, and create visually captivating works of art.
Mastering the Art of Painting a Portrait with Watercolor Pencils
Whether you’re a beginner or an experienced artist, this guide will walk you through the step-by-step process of painting a portrait using watercolor pencils. With a little practice and patience, you’ll be able to capture the essence and beauty of your subject with these remarkable tools. How To Remove Stains From Carpet(The Ultimate Guide)
I. Gathering the Right Materials
Before diving into the process of painting a portrait with watercolor pencils, it’s essential to gather the necessary materials. Here’s a list of items you’ll need:
- Watercolor pencils: Invest in a high-quality set that offers a wide range of colors.
- Watercolor paper: Choose a heavyweight paper that can handle wet media without warping.
- Brushes: Have a variety of brushes on hand, including round and flat brushes in different sizes.
- Water container: Use a clean container for water to rinse your brushes.
- Palette: A palette with wells or a white ceramic plate can be used for mixing colors.
- Masking tape: Use masking tape to secure your paper to a board or table.
Read Also: How To Paint A Still Life With Watercolors
II. Preparing the Portrait
Before starting your portrait, it’s essential to prepare the subject and plan your composition. Consider the following steps:
- Selecting a reference photo: Choose a high-resolution photo that clearly captures the subject’s features and details.
- Sketching the outline: Lightly sketch the basic outline of the portrait on your watercolor paper. Pay attention to proportions and placement. How To Potty Train A Toddler (The Ultimate Guide)
- Transferring the sketch: If you’re not confident in your drawing skills, consider using transfer paper or a lightbox to transfer the sketch onto the watercolor paper.
III. Layering and Building Colors
Layering and building colors are crucial steps in achieving depth and dimension in a portrait. Follow these steps:
- Color selection: Begin by selecting a limited palette of colors that match the subject’s skin tone and features. Start with light colors and gradually build up to darker shades.
- Base layer: Apply a light layer of color to the entire portrait, focusing on the basic values and shadows. Use light pressure to ensure easy blending. How To Create A Budget For Retirement
- Building layers: Layer different colors on top of each other to create depth and texture. Experiment with different strokes, such as cross-hatching, stippling, or circular motions, to mimic the texture of skin and hair.
- Blending: Use a damp brush or a water brush to blend the colors together. Work in small sections and blend the edges of each layer to create smooth transitions.
- Adding details: Once the base layers are complete, gradually add details like eyes, lips, and hair. Pay attention to the intricate features and use fine-tipped watercolor pencils for precision.
- Highlights and shadows: Use a white watercolor pencil or leave areas of the paper untouched to create highlights. Darken certain areas to emphasize shadows and contours.
IV. Adding Depth and Final Touches
To bring your portrait to life, focus on adding depth and final touches. Consider the following techniques:
- Wet-on-wet: Wet the area you want to paint, then apply watercolor pencil pigment directly onto the wet surface. Allow the colors to bleed and blend, creating soft and diffused edges.
- Dry brush: Use a dry brush and watercolor pencils with intense pigment to add texture and details to the portrait. This technique works well for capturing hair strands or fine lines.
- Details and highlights: Pay attention to the small details that define the subject’s features. Use fine-tipped pencils and light washes to highlight facial features, catchlights in the eyes, or strands of hair.
- Background: Consider the overall composition and decide on an appropriate background. Keep it simple to avoid distracting from the portrait itself. You can use washes, textures, or patterns to add interest.
- Finishing touches: Take a step back and evaluate your portrait. Make any necessary adjustments, refine the details, and enhance the overall contrast. Ensure the values and colors accurately represent your subject.
Read Also: How To Paint A Sunset With Acrylics(The Ultimate Guide)
Some basic steps to get started
Painting a portrait with watercolor pencils can be a rewarding and enjoyable experience. Here are the basic steps to get you started:
1. Gather the necessary materials
-
- Watercolor pencils: Choose a set with a variety of colors.
- Watercolor paper: Use heavyweight paper designed for wet media.
- Brushes: Have a selection of round and flat brushes in different sizes.
- Water container: Use a clean container for rinsing your brushes.
- Palette or mixing surface: Use a palette with wells or a white ceramic plate.
- Masking tape: Secure your paper to a board or table. How To Make Homemade Natural Beauty Products
2. Prepare the reference photo:
-
- Choose a clear, high-resolution photo of your subject.
- Make any necessary adjustments or cropping.
3. Sketch the outline
-
- Lightly sketch the basic outline of the portrait on the watercolor paper.
- Pay attention to proportions and placement of facial features.
4. Layering and blending
-
- Start with light colors and gradually build up layers.
- Apply light pressure to create a base layer of color.
- Use cross-hatching, stippling, or circular motions for texture.
- Experiment with blending colors using a damp brush or water brush.
- Work in small sections, blending the edges of each layer for smooth transitions.
5. Adding details
-
- Once the base layers are complete, focus on adding details.
- Use fine-tipped watercolor pencils for precise lines and features.
- Pay attention to eyes, lips, and other facial elements.
- Use lighter colors to highlight and darker colors for shadows.
6. Creating depth and dimension
-
- Continue layering and blending to create depth in the portrait.
- Use darker colors for shadows and lighter colors for highlights.
- Pay attention to the play of light and shadow on the subject’s face.
7. Final touches
-
- Step back and evaluate your portrait.
- Make any necessary adjustments to enhance the overall contrast.
- Add additional details or highlights if needed. How To Do Basic Car Maintenance For Women
- Consider the background and add washes, textures, or patterns if desired.
8. Optional: Fixative and framing
-
- If desired, apply a spray fixative to protect your artwork.
- Frame your finished portrait under glass to preserve and display it.
Remember, practice is key to improving your skills with watercolor pencils. Experiment with different techniques, color combinations, and subjects to develop your own unique style. Enjoy the process and embrace the versatility of watercolor pencils as you create beautiful portraits.
Read Also: How To Make Lime Green Paint(2023Guide)
FAQs & Answers on How to Paint a Portrait with Watercolor Pencils
1. Can I use watercolor pencils on regular drawing paper?
While it is possible to use watercolor pencils on regular drawing paper, it is recommended to use watercolor paper specifically designed for wet media. Watercolor paper is more durable and can handle the water and pigment without warping or tearing.
2. Do I need to use a fixative after finishing a watercolor pencil portrait?
Unlike traditional dry pencils, watercolor pencils do not require a fixative. Once the water is applied to the pigment, it binds to the paper, creating a permanent bond. However, if you wish to protect your artwork from smudging or fading, you can use a spray fixative specifically made for watercolor pencils. How To Start A Small Business From Home
3. Can I erase mistakes made with watercolor pencils?
Erasing mistakes with watercolor pencils can be challenging since the pigment is soluble and can spread when in contact with water. It is best to approach corrections by lifting the pigment with a clean, damp brush or a soft eraser. Be cautious not to scrub too vigorously to avoid damaging the paper.
4. How do I prevent colors from bleeding into each other?
To prevent colors from bleeding into each other, allow each layer to dry before applying a new one. You can also use a light touch and build up the layers gradually, allowing for better control over the blending and minimizing the chances of unwanted color bleeding.
5. How do I care for my watercolor pencil artwork?
To care for your watercolor pencil artwork, it’s best to frame it under glass to protect it from dust, moisture, and UV light. If storing the artwork, ensure it is kept flat in a dry and cool environment. Avoid touching the surface directly to prevent smudging or transferring oils from your fingers. Proper care will help preserve the vibrancy and longevity of your artwork.
6. Are watercolor pencils suitable for beginners?
Yes, watercolor pencils can be a great choice for beginners. They offer more control and precision compared to traditional watercolor paints, making them easier to work with when starting out. The ability to layer and blend colors also allows beginners to experiment and develop their skills without feeling overwhelmed. How To Start A Small Business From Home
Conclusion
Painting a portrait with watercolor pencils offers a unique and rewarding experience. By following the steps outlined in this guide and practicing regularly, you’ll develop the skills and techniques required to create stunning watercolor pencil portraits. Remember to experiment with different colors, blending techniques, and styles to find your own artistic voice. The journey of mastering this art form requires patience, dedication, and an open mind. Embrace the versatility of watercolor pencils and let your creativity flourish as you capture the essence and beauty of your subjects on paper.
Recommended;
How To Do Basic Car Painting (All You Need To Know)