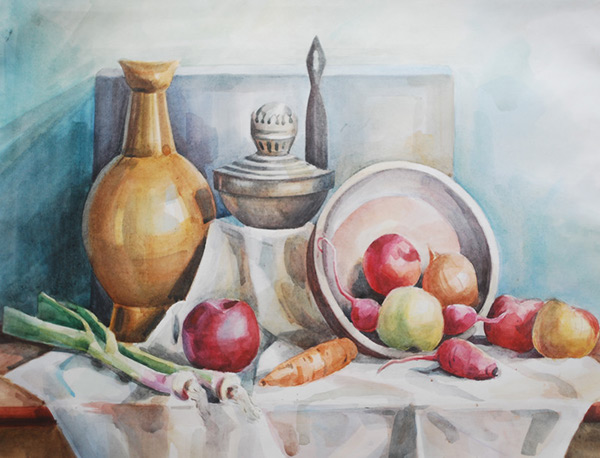
How to paint a still-life with watercolors – Painting a still-life with watercolors is a captivating and rewarding artistic endeavor. It allows artists to explore the beauty of everyday objects, capturing their form, color, and texture with the fluidity and transparency of watercolor paints. Engaging in artistic activities, such as painting, can have therapeutic benefits. Painting a still life with watercolors allows individuals to focus their attention, reduce stress, and engage in calming and meditative practice. It provides an outlet for self-expression and can be a form of relaxation and self-care.
Learning how to paint a still life with watercolors is important for artistic expression, observation skills, technique development, understanding color and composition, patience and discipline, therapeutic benefits, appreciation for still-life art, and personal growth. Whether you’re a beginner or an experienced artist, exploring the world of still-life painting with watercolors can be a rewarding and enriching experience.enoughinfo
Read Also: How to draw a cat step by step(All You Need To know)
Mastering the Art of Painting a Still Life with Watercolors
Whether you’re a beginner or an experienced artist, this comprehensive guide will provide you with step-by-step instructions and valuable tips to help you create stunning still-life paintings using watercolors. From selecting the right materials and setting up composition to understanding watercolor techniques and adding depth and realism to your artwork, this article covers everything you need to know to embark on a successful still-life painting journey.
Materials Needed for Painting a Still Life
To start your still life painting journey, it’s essential to gather the right materials. Here are the key supplies you’ll need:
- Watercolor paints
- Watercolor paper
- Brushes
- Palette or mixing tray
- Water containers
- Drawing tools
- Masking tape
- Paper towels
- Easel (optional)
- Still life objects
Setting Up a Composition
Creating a visually pleasing composition is crucial for a successful still life painting. This section covers topics such as selecting objects, arranging the setup, considering lighting and backgrounds, and finding a suitable viewpoint.
Understanding Color Theory and Mixing
Having a basic understanding of color theory is essential for creating harmonious and vibrant still life paintings. Learn about the color wheel, color temperature, complementary colors, and color mixing techniques to achieve the desired hues and shades in your artwork.
Watercolor Techniques for Still Life Painting
Explore various watercolor techniques that are well-suited for still life painting, including wet-on-wet, dry brush, glazing, and wet-on-dry techniques. Understand how each technique can be used to create different effects and textures in your artwork.
Sketching and Outlining the Still Life
Learn how to sketch the basic outline of your still life objects using light pencil marks or watercolor pencils. This step helps establish the proportions and placement of objects before adding colors and details.
Layering and Building Tones
Discover the art of layering watercolors to build depth and create a range of tones. Understand how to control the intensity of colors by applying multiple layers and adjusting the amount of water in your brush.
Capturing Textures and Details
Explore techniques for capturing the textures and intricate details of objects in your still life. Learn how to use various brush strokes, lifting techniques, and One of the joys of painting a still life is capturing the textures and details of the objects. Whether it’s the roughness of a ceramic vase, the smoothness of a glass bottle, or the delicate petals of a flower, these details bring life and realism to your artwork. Here are some techniques to help you master the art of capturing textures and details with watercolors:
Read Also: How To Create A DIY Home Decor
- Observation: Take the time to carefully observe the textures and details of each object in your still life. Notice the patterns, shapes, and variations in color. Pay attention to the play of light and shadow on different surfaces. The more you observe, the better you’ll be able to replicate those details in your painting.
- Dry Brush Technique: The dry brush technique is perfect for capturing textures like wood grain or rough surfaces. Load your brush with a small amount of paint and remove excess moisture on a paper towel. With light pressure and short strokes, gently brush the surface of the paper to create the desired texture.
- Stippling: Stippling involves creating texture by applying dots or small marks with your brush. This technique is useful for capturing the texture of fabrics, leaves, or the rough skin of certain fruits. Dip your brush in water, then in the desired color, and lightly tap or dot the brush onto the paper to create the texture.
- Lifting: Lifting is a technique used to remove or lighten areas of paint to create highlights or add texture. Wet your brush and gently dab it on a paper towel to remove excess moisture. Then, lightly touch the area you want to lift, and blot it with a clean, damp brush or a paper towel. This technique works best with watercolor paper that has a good lifting capacity.
- Fine Detail Brushes: Invest in a set of fine detail brushes for intricate details like the veins on a leaf or the delicate lines of a flower petal. These brushes have a fine point and allow for more control and precision in your brushwork.
- Layering: Layering colors can add depth and dimension to your textures. Start with lighter shades and gradually build up the layers, allowing each layer to dry before adding the next. This technique is particularly effective for capturing the translucent quality of glass or the layered petals of a flower.
- Experiment and Practice: Don’t be afraid to experiment with different techniques and brushstrokes to create unique textures. Practice on scrap paper or in a sketchbook to refine your skills before applying them to your final artwork.
Adding Depth And Realism
Adding depth and realism to your still life painting is crucial to create a sense of three-dimensionality and make the objects appear lifelike. Here are some techniques to help you achieve depth and realism in your watercolor still life:
- Value Contrast: Value refers to the lightness or darkness of a color. By creating a range of values in your painting, you can add depth and dimension. Observe the objects in your still life and identify the areas of light, medium, and dark tones. Use lighter washes for the areas in direct light, medium tones for the middle values, and darker washes for the areas in shadow.
- Gradation: Gradation involves smoothly transitioning from one value to another, creating a gradual change in color or tone. This technique can be used to create smooth transitions from light to dark, adding depth and dimension to your artwork. Start with a light wash, then gradually build up the intensity of the color or value as you move across the object. Use a larger brush for broader areas and a smaller brush for more precise gradations.
- Shadows and Highlights: Pay close attention to the shadows and highlights in your still life. Shadows add depth and dimension, while highlights create the illusion of light hitting the objects. Identify the light source in your composition and determine where the shadows fall. Use a darker value or a complementary color for the shadows, and leave areas of white or lighter tones for the highlights.
- Negative Painting: Negative painting is a technique where you paint the spaces around an object to define its shape. By painting the background or the areas surrounding the object, you can create a sense of depth and bring the object forward. Pay attention to the edges of the objects and use a contrasting color or value to make them stand out.
- Atmospheric Perspective: Use atmospheric perspective to create the illusion of depth and distance in your still life painting. Objects that are closer to the viewer appear more detailed and have stronger colors, while objects in the background appear softer and less defined. Gradually reduce the intensity of the colors and increase the use of lighter washes as you move towards the background.
- Details and Textures: Adding details and textures to your objects can enhance the realism of your still life. Use finer brushes or even a toothpick to create small details like patterns, textures, or reflections. Pay attention to the subtle variations in color and value within the objects, capturing the intricacies that make them unique.
- Depth with Overlapping Objects: If your still life includes multiple objects, create depth by overlapping them. Paint the objects that are closer to you first and gradually work your way to the background objects. Overlapping objects creates a sense of space and helps establish a clear foreground, middle ground, and background.
Remember, achieving depth and realism in your still life painting takes practice and observation. Study objects in different lighting conditions, experiment with different techniques, and learn from the masters of still life painting. Over time, you’ll develop your own style and techniques to bring depth and realism to your watercolor still life paintings.
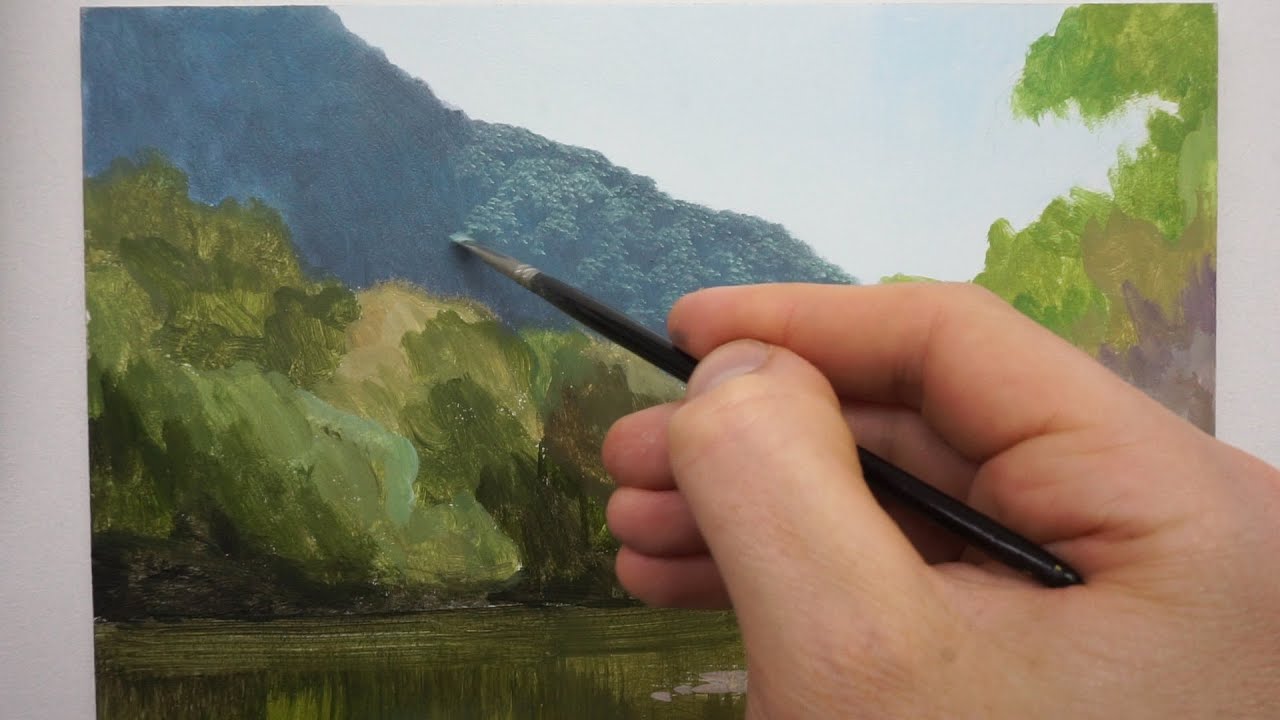
Read Also: How To Paint A Watercolor Landscape
Creating a Focal Point
Creating a focal point in your still life painting helps guide the viewer’s eye and adds interest to your composition. Here are some tips to create a strong focal point:
- Select a Dominant Object: Choose one object in your still life to be the focal point. It should be visually interesting and stand out from the rest of the objects. Consider its size, color, shape, or texture when selecting the focal point.
- Placement and Composition: Position the focal point off-center to create a dynamic composition. Use the rule of thirds or other compositional techniques to guide the viewer’s eye towards the focal point. Experiment with different arrangements and viewpoints to find the most visually appealing composition.
- Contrast and Detail: Enhance the focal point by adding contrast and detail. Use stronger values, bolder colors, or intricate textures to make the focal point more visually appealing. Ensure that the surrounding objects and background support and enhance the focal point rather than competing with it.
- Emphasize with Brushwork: Use brushwork to draw attention to the focal point. Apply more detail and precision to the focal point, and use looser or softer brushwork for the surrounding objects. This contrast in brushwork can make the focal point visually pop.
- Use Leading Lines: Incorporate leading lines in your composition to direct the viewer’s gaze towards the focal point. These can be implied lines created by the placement of objects or actual lines formed by the objects themselves. Leading lines help create a visual path that leads the viewer’s eyes to the focal point.
- Contrast in Color and Value: Utilize contrast in color and value to make the focal point stand out. Use complementary colors or contrasting values to create a visual impact. By placing the focal point against a contrasting background or surrounding it with objects of different colors, you can draw attention to it.
- Size and Proportions: Manipulate the size and proportions of the objects to emphasize the focal point. Make the focal point larger or more detailed compared to the surrounding objects. This difference in scale will naturally attract the viewer’s attention.
Remember that the focal point should be clear and distinct, but it doesn’t necessarily have to be the largest or most detailed object in the painting. Experiment with different elements and techniques to create a focal point that adds interest and draws the viewer into your still life painting.
Final Touches and Finishing
Once you’ve completed the main elements of your still life painting, it’s time to add final touches and finish the artwork. Here are some steps to consider:
- Refine Details: Take a step back and assess your painting. Look for areas that need refinement or additional detail. Pay attention to small nuances, such as highlights, shadows, and textures, to make your painting more realistic.
- Adjust Colors and Values: Evaluate the overall color harmony and value distribution in your painting. Make any necessary adjustments to ensure a balanced and cohesive composition. Use glazing techniques or additional washes to fine-tune the colors and values.
- Sign Your Painting: Don’t forget to sign your artwork! Choose a discreet location where your signature won’t distract from the main subject. Use a fine-tipped brush or a signing pen with waterproof ink.
- Allow for Drying Time: Watercolor paintings require adequate drying time. Place your painting on a flat surface and allow it to dry completely before handling or framing. This prevents smudging or accidental damage to your artwork.
- Protect and Frame: Once your painting is fully dry, consider protecting it with a fixative spray or applying a varnish to preserve its colors and protect it from dust and moisture. If you choose to frame your painting, select a frame that complements your artwork and enhances its overall presentation.How to paint a still life with watercolors
Tips for Successful Still Life Paintings
Here are some additional tips to enhance your still life painting skills:
- Experiment with Lighting: Try different lighting setups to create interesting shadows and highlights. Natural light or a single directional light source can dramatically change the mood and atmosphere of your still life.
- Study Composition: Learn about composition principles such as the rule of thirds, golden ratio, and focal points. Apply these concepts to create visually appealing and well-balanced compositions.
- Develop Your Observation Skills: Practice observing objects and their details in real life. Pay attention to the subtle nuances of color, texture, and shape. The more you observe, the better you’ll be able to translate those details into your paintings.
- Explore Different Still Life Themes: Don’t limit yourself to a single subject or style. Experiment with different still life themes, such as fruits, flowers, objects from nature, or everyday objects. Each theme offers unique challenges and opportunities for artistic expression.
- Learn from Other Artists: Study the works of renowned still life artists to gain inspiration and insight into their techniques. Analyze their brushwork, color choices, and compositions. Incorporate elements that resonate with your own artistic vision.
- Practice Regularly: Like any skill, practice is key to improving your still life painting abilities. Set aside dedicated time for regular practice sessions. Challenge yourself with different objects, compositions, and techniques to continuously expand your skills.
- Keep a Sketchbook: Maintain a sketchbook to experiment with compositions, color studies, and quick sketches. It’s a valuable tool for brainstorming ideas, practicing brushwork, and capturing observations on the go.
- Use High-Quality Materials: Invest in good-quality watercolor paints, paper, and brushes. Higher-quality materials will yield better results and make the painting process more enjoyable.
- Be Patient and Persevere: Still life painting requires patience and perseverance. Don’t get discouraged if your initial attempts don’t meet your expectations. Learn from your mistakes, seek feedback, and keep pushing yourself to improve.
- Enjoy the Process: Remember to enjoy the process of painting a still life. Embrace the meditative and therapeutic qualities of the art form. Let your passion and love for painting shine through in your artwork.
Read Also: How To Do A Basic Makeup Look (9 Good Steps)
The Fundamentals of Painting a Still Life
Painting a still life with watercolors is a wonderful way to explore your creativity and capture the beauty of everyday objects. Here is a basic step-by-step guide to get you started:
- Gather Your Materials:
- Watercolor paints: Choose a set of high-quality watercolor paints that offer a wide range of colors.
- Watercolor paper: Use thick, textured watercolor paper that can handle the wetness of the paint.
- Brushes: Have a variety of brushes, including a large wash brush for broad areas and smaller brushes for details.
- Palette: Use a palette to mix and blend your watercolor paints.
- Water container: Have a container filled with clean water to rinse your brushes.
-
Set Up Your Still Life:
- Select a group of objects to create your still life composition. Choose objects with different shapes, sizes, and textures to make it visually interesting.
- Arrange the objects on a table or a setup that provides good lighting. Consider the composition and placement of objects to create an appealing arrangement.
-
Prepare Your Palette:
- Squeeze out a small amount of each watercolor paint onto your palette. Include primary colors (red, blue, yellow), secondary colors (orange, green, violet), and neutrals (brown, gray).
- Leave some space on your palette for mixing colors.
-
Mix Your Colors:
- Begin by mixing a few basic colors that match the objects in your still life. Start with primary colors and gradually mix them to create the desired hues.
- Use a clean brush and a small amount of water to dilute the paint and achieve the desired consistency.
-
Start Painting:
- Wet the area of the paper where you want to begin painting. Use a large brush and clean water to apply a thin, even layer of water to the desired area.
- Pick up some paint with your brush and apply it to the wet area of the paper. Observe how the paint spreads and blends on the wet surface. Experiment with different brushstrokes and techniques to create texture and interest.
-
Build Layers:
- Allow the first layer to dry before applying subsequent layers. This will prevent colors from bleeding into each other.
- Gradually build up layers of paint, adding more details and depth to your still life. Start with lighter washes and gradually add darker tones and details.
-
Focus on Lights and Shadows:
- Observe the light source in your still life and identify areas of light and shadow.
- Use lighter washes and less pigment for areas of light, and darker washes and more concentrated pigment for areas of shadow. Pay attention to the subtle variations in value to create a sense of dimension.
-
Add Details and Textures:
- Use smaller brushes to add details and textures to your objects. Notice the different textures and surfaces of the objects in your still life, and try to capture them in your painting.
- Experiment with techniques such as dry brush, splattering, or lifting off paint with a damp brush to create interesting effects.
-
Refine and Evaluate:
- Step back from your painting occasionally to evaluate your progress. Make adjustments as needed and refine the details and colors of your still life.
- Remember to have patience and enjoy the process. Watercolor painting requires practice and experimentation to achieve the desired results.
-
Let Your Painting Dry and Protect It:
- Once you are satisfied with your painting, let it dry completely before handling or framing it.
- Consider using a fixative spray or applying a varnish to protect the finished artwork and enhance its longevity.
Remember, this is just a basic guide to get you started with painting a still life using watercolors. The more you practice, the more you will
Read Also: How To Make A Paper Boat
Conclusion
Painting a still life with watercolors is a delightful and fulfilling artistic pursuit. By following the steps outlined in this comprehensive guide, you can develop the skills and techniques necessary to create captivating and realistic still life paintings. From selecting the right materials and setting up an engaging composition to mastering watercolor techniques and adding depth and realism, each stage of the painting process contributes to the creation of a beautiful artwork. Remember to practice regularly, be patient with yourself, and enjoy the journey of capturing the beauty of everyday objects through the fluid and transparent medium of watercolors. With dedication and perseverance, you’ll be able to create stunning still life paintings that capture the essence and charm of the objects before you.