How to take out a Shower Diverter (The Ultimate Guide)
How to take out a Shower Diverter (The Ultimate Guide): A shower diverter is a valve that directs water flow from the shower head to the bathtub tap. Don’t worry if your shower diverter isn’t working properly; I’ll walk you through the process of fixing it.
Read Also: How to clean a portable air conditioner (The Ultimate Guide)
You may take back control of the water flow in your shower by following these steps, which include turning off the water supply and checking and, if needed, replacing the diverter valve.
How to take out a Shower Diverter (The Ultimate Guide)
Let’s examine how to mend a shower diverter in detail!
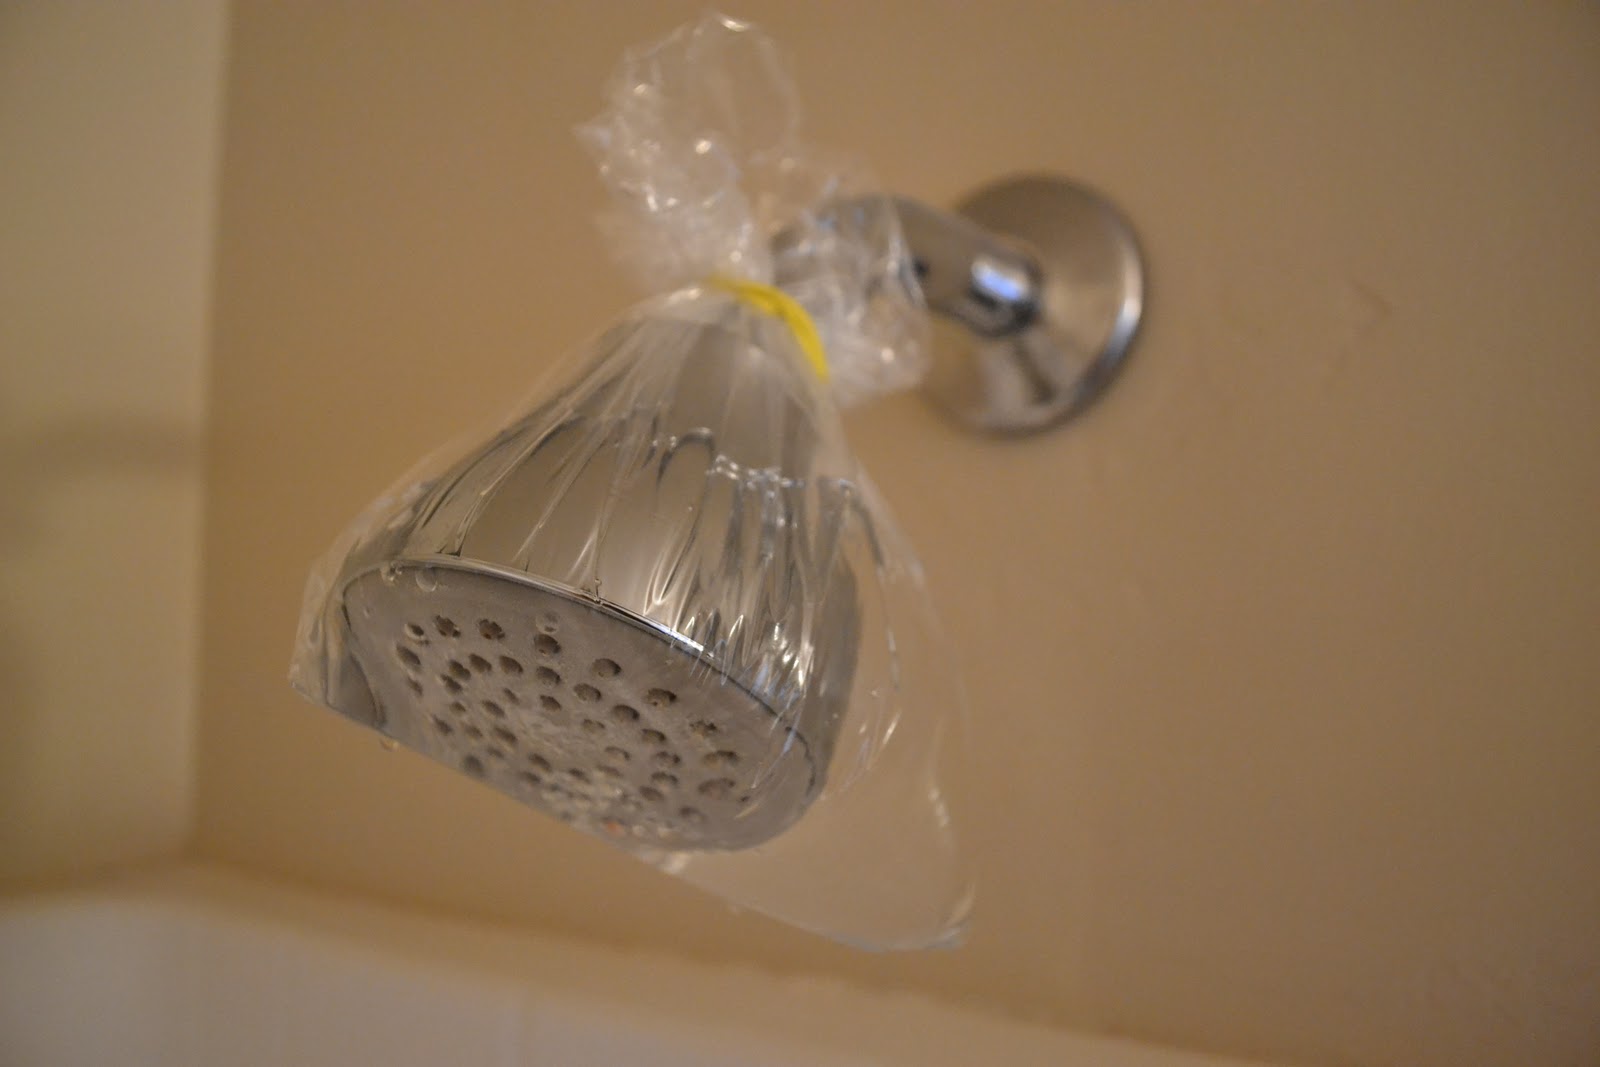
1. Pour vinegar over the spout
Leaks that occur when you’re taking a shower may be fixed by cleaning your spout. Pour distilled white vinegar into an airtight plastic bag until it is halfway full. Make sure the spout’s aperture is fully submerged by sliding the bag over it. To keep the bag in place, wrap several rubber bands around both the spout and the bag. After 12 to 24 hours, remove the bag and test your diverter.
- The accumulation of gunk within the spout can result in a space opening between the water opening and the diverter.
Read Also: How To Make Homemade Bath Bombs
2. Keep your drain covered
Cover your tub with a cloth to prevent misplacing screws or other parts. The majority of spouts are manually screwed into the wall; they don’t have any fasteners holding them there. Some spouts do, though. As you remove the spout, be sure to block your tub’s drain to prevent losing any important items. It’s better to be safe than sorry.
Read Also: How To Unclog A Double Kitchen Sink
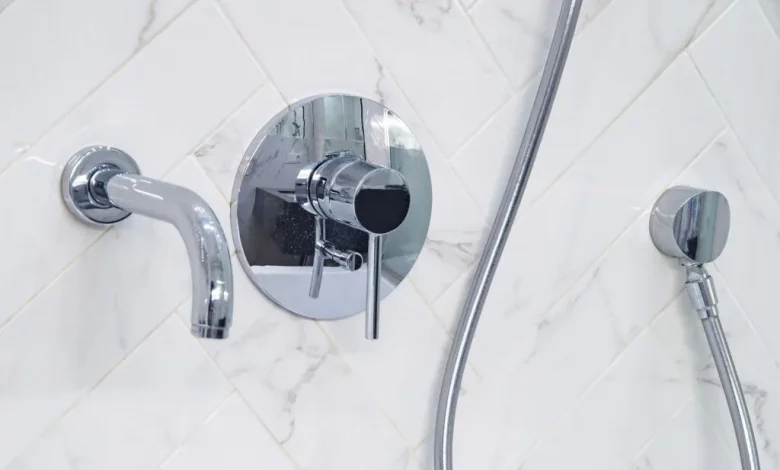
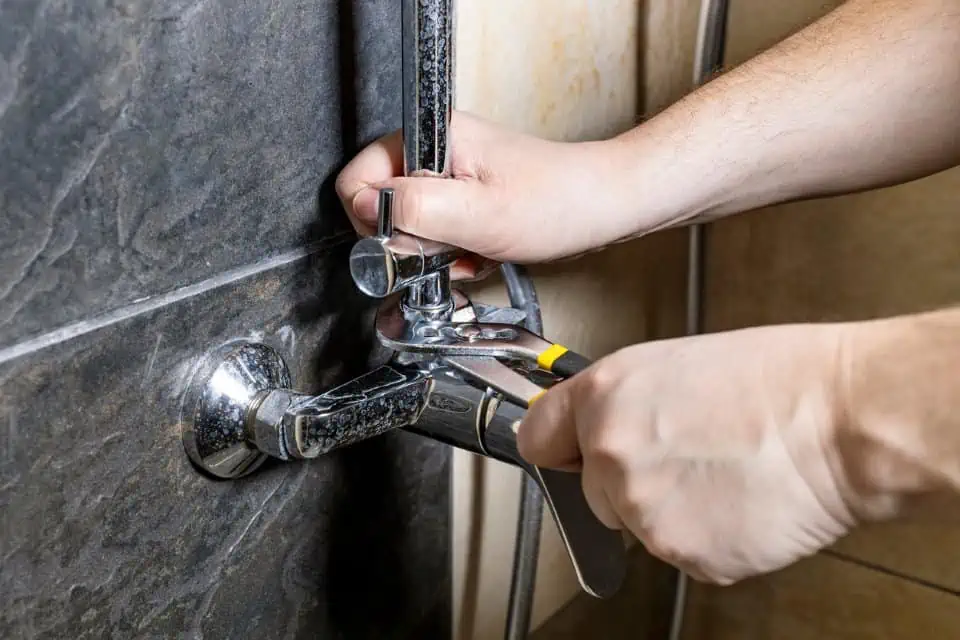
3. Take out the spout
Pull the spout out by rotating it anticlockwise. If you are unable to turn the spout anticlockwise, use a hex key or screwdriver to remove any hex nuts or screws that are located on the underside. Don’t be afraid to spin the spout with a little amount of effort.
- Spouts that slide on and off of pipes exist. They are usually fastened onto a pipe with threads. Either way, you can remove it by turning anticlockwise.
- If you have diverters installed to your spout, follow this procedure. If your diverter is solitary, unscrew the central screw and take off the lid to remove it. Sadly, unless your faceplate is loose, you will need to replace the entire diverter. Then, attempt to fix it by tightening the screws.
- To get to all of the pieces for some diverter types that are difficult to disassemble, you might have to pry open a portion of your wall.
Read Also: How to get Wet Smell out of Carpet (All You need to Know)
4. Take the diverter apart
With pliers and a little effort, disassemble the diverter. More specifically, the diverter is the small, movable pin and the (typically white) bracket that secures it. Using pliers or a screwdriver, pry open the bracket that holds the pin in place. Pull up on the pin’s knob simultaneously to release it.
- There are now two components available. The diverter valve, which is located inside the spout and controls whether water flows through it, and the pin/knob.
- You will have to replace the entire assembly if your diverter has two or three valves. Find a replacement diverter by taking the broken one to a home improvement store.
Read Also: How To Clean Grout Between Tiles
5. Force the rubber washer out
Leaks are frequently caused by a washer that is rusted or broken. The rubber ring on the diverter valve is referred to as the washer. Take it out and examine it with a flathead screwdriver or your fingernail.
- Cleaning the washer will probably stop the leak if it appears dirty.
- Replace the washer if it looks damaged.
Read Also: How to fix a leaky faucet(The Ultimate Guide)
6. Either replace or clean the washer
If it’s only dirty, wash it with soap and water or replace it with a new one. Avoid using any cleaning chemicals on the washer as they have the potential to erode it over time. After giving it a quick soap spray, give it a water rinse. If the washer breaks, take it to the hardware shop and buy a replacement that is exactly the same. Before reinstalling the washer in the diverter, lubricate it with silicone grease.
- Silicone grease is required. The diverter valve will eventually fail if the washer doesn’t glide smoothly inside of it due to lack of lubrication.
- Silicone grease is available online and at your neighborhood hardware store.
- Usually, you have to swap out the shower diverter every four to five years.
Read Also: How To Do Basic Plumbing Repairs
7. Clean out debris from the spout
Water will flow more tightly if the spout’s interior is cleaned. When you look inside the area where the water exits your spout, you should see some dirt and calcification. To remove all of the muck, use a flat file. Repeat this procedure with a rinsed spout until it appears brand-new.
- To clean the inside of the spout in the absence of a flat file, you can use a knife or the flathead screwdriver tip.
- Try soaking the spout in white vinegar for an entire night if you’re still having trouble cleaning the interior.
8. Put the diverter back together
Reassemble your diverter within the spout. Push the knob through the opening on top of the spout and slide the valve back into the spout. Reinsert the pin into the valve with a reasonable amount of force. If you would rather, you can use pliers to hold the tabs open while you re-insert it. Pull the knob up and down to make sure the valve is operating properly once the pin has been inserted.
- Where the valve’s tabs slide into position, there ought to be a dimple in the pin.
Read Also: How To Do Basic Plumbing Repairs
9. Taped the pipe with fresh plumber’s tape
By doing this, a spotless connection between the spout and the pipe is ensured. Remove any remnants of old plumber’s tape using a pin or your hands. Apply four to five layers of Teflon plumber’s tape to the pipe’s threading.
- If you don’t use the plumber’s tape, your spout can leak.
- Another name for plumber’s tape is thread sealant.
10. Put your spout back in
Reinstall the spout in the same manner that you took it off. Turn the spout clockwise after sliding it over the water supply pipe. Turn it one more time until the opening is facing straight down and the spout is resting against the surface.
- Don’t tighten it too much. You can proceed as long as the spout is securely fastened to the supply pipe.
Make careful to shut it back up and retile the surface if you had to remove a part of wall in order to reach the diverter.
Read Also: How To Do Basic Home Carpentry
11. Make several uses of the diverter
To seat the diverter, turn on the water and drag it up and down. After putting the water on halfway, turn the diverter pin knob. It’s okay if the diverter kind of sticks or catches. Once you feel a clean opening and closing, push it back down and continue.
- If the diverter isn’t opening and closing correctly, there could be a bent pin or a broken valve. The spout needs to be replaced.
12. If required, replace the entire spout
Replace the spout if you are unable to get it to operate properly. The process of replacing a tub spout is as simple as sliding it over the pipe and rotating it clockwise. Spouts are often very affordable. Take it to the hardware shop, select a spout that fits, and buy it if you need a replacement.
Read Also: How To Make Homemade Soap
Conclusion
To sum up, fixing a shower diverter doesn’t have to be a difficult undertaking. You can get your shower working again with a methodical process that includes shutting off the water, checking for issues, and possibly replacing the diverter valve. Remember that it’s always a good idea to seek professional assistance if you have any doubts or run into difficulties. Proceed to savour your revitalised and functional shower now!
FAQs & Answers
1. Does my shower diverter need to be fixed by a professional?
Indeed, you can solve a lot of diverter problems on your own, but if you’re not sure, call a plumber.
2. What equipment is required to fix a diverter in a shower?
You might need some basic tools, like a screwdriver. See the handbook for your shower for precise instructions.
3. How often should my shower diverter be inspected?
Check your diverter on a regular basis for indications of problems. It is a good idea to perform a preventive check every few months.