How To Make Homemade Bath Bombs
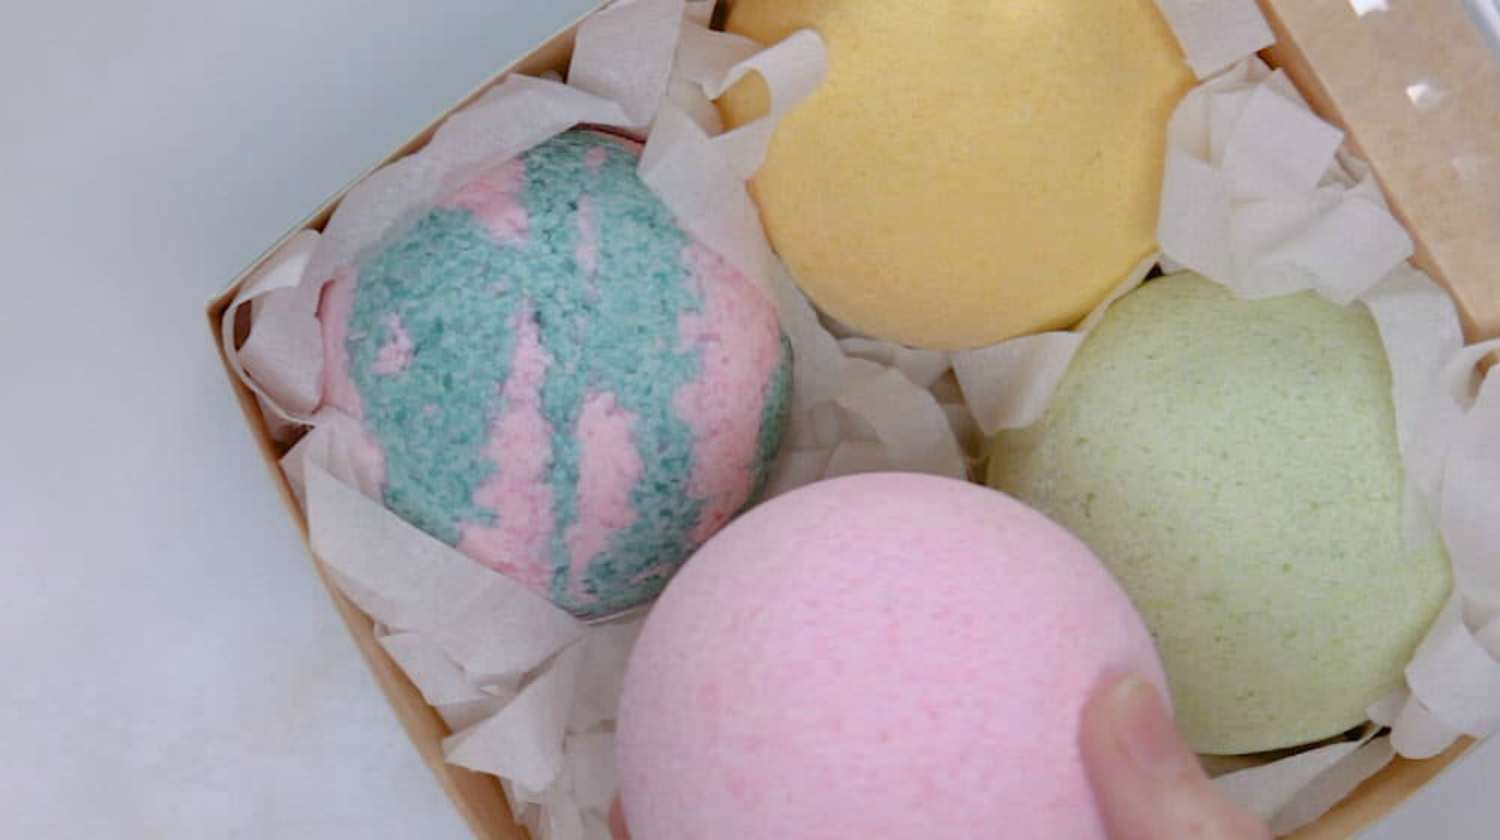
How to make homemade bath bombs – Bath bombs have become increasingly popular over the years, offering a delightful and relaxing experience during bath time. These fizzy little wonders add a touch of luxury to your self-care routine, transforming an ordinary soak into a soothing and aromatic spa-like experience. While store-bought bath bombs are widely available, there’s something special about creating your own homemade versions. After a hard day, having a routine that encourages you to unwind is beneficial. While we’re all for Netflix and snacks or sweating it out at a Lagree class, there’s no doubt that a bubbly bath bomb can literally fix everything. Of course, learning how to draw the nicest bath possible is required.
Water, then bomb: that’s the end of the story. While it’s sometimes contested which comes first, Vega claims that putting your bomb into a full tub is what allows it to dissolve correctly, releasing all of its wonderful contents. So, once your tub is completely filled, add your favourite bath bomb or oil. If you decide to use a bubble bar, make sure to hold it under the tap rather than just tossing it into a full tub to get a lot of bubbles.enoughinfo
Read Also: How To Make A Homemade Face Scrub
Bath bombs may bring a little zing and fun to a relaxing self-care ritual, but they normally cost a token for each bomb, which can quickly add up. Fortunately, if you make your own bath bombs at home, you won’t have to waste your money on this pleasant luxury. The technique is straightforward (it takes approximately 20 minutes, plus a day or two of drying time) and can be a pleasant and creative pastime because you can customise them with your own scents and colours. Making bath bombs should be rather simple with this basic formula, and you’ll be sudsing in a colourful, fragrant bath in no time.
A Complete Guide on How to Make Homemade Bath Bombs
In this comprehensive guide, we’ll take you through the step-by-step process of making homemade bath bombs, allowing you to customize the ingredients, scents, and colors to suit your preferences.
Now, let’s delve into the step-by-step process of making homemade bath bombs:
Step 1: Gather Your Ingredients and Supplies
To make bath bombs at home, you’ll need the following ingredients and supplies:
Ingredients:
- 1 cup baking soda
- 1/2 cup citric acid
- 1/2 cup Epsom salt
- 1/2 cup cornstarch
- 2 1/2 tablespoons almond oil or coconut oil
- 3/4 tablespoon water
- 15-20 drops of your preferred essential oil(s)
- Food coloring (optional)
- Dried flower petals or herbs (optional)
Supplies:
- Mixing bowls
- Whisk
- Bath bomb molds or silicone molds
- Spray bottle filled with water
- Measuring cups and spoons
Step 2: Combine Dry Ingredients
In a mixing bowl, combine the baking soda, citric acid, Epsom salt, and cornstarch. Use a whisk to ensure the ingredients are thoroughly mixed and any clumps are broken up.
Step 3: Mix the Wet Ingredients
In a separate bowl, combine the almond oil or coconut oil, water, essential oil(s), and any desired food coloring. Mix well to distribute the oil and color evenly.
Read Also: How to make a homemade face mask
Step 4: Gradually Combine the Wet and Dry Ingredients
Slowly pour the wet ingredients into the bowl containing the dry ingredients. To prevent the mixture from fizzing prematurely, add a few drops at a time while whisking vigorously. Continue adding the wet ingredients until the mixture holds together when squeezed in your hand. It should have a consistency similar to wet sand.
Step 5: Add Extra Elements
This step is optional but can add an extra touch to your bath bombs. Consider adding dried flower petals or herbs to the mixture, which will release their fragrance as the bath bomb dissolves in the water. Gently fold them into the mixture until evenly distributed.
Step 6: Mold Your Bath Bombs
Fill each half of your bath bomb molds or silicone molds with the mixture, packing it down firmly. Overfill each half slightly before pressing them together, twisting slightly to seal them. If you don’t have specific molds, you can use other objects like ice cube trays or even your hands to shape the bath bombs. For hand-shaping, take a handful of the mixture and compact it tightly in your hands, forming a round or any desired shape.
Step 7: Let Them Dry and Harden
Once you’ve molded your bath bombs, carefully remove them from the molds and place them on a clean, dry surface. Allow them to dry and harden for at least 24-48 hours. This drying time is crucial to ensure the bath bombs hold their shape and don’t crumble when used.
Step 8: Store and Enjoy
Once your homemade bath bombs have fully dried, store them in an airtight container or individual packaging to preserve their freshness. They make great gifts or additions to your own bath time routine. To use, simply drop one into a warm bath and watch it fizz and dissolve, releasing its delightful aroma and nourishing properties.
Tips and Variations
- Experiment with Scents: Essential oils offer a wide range of scents and therapeutic benefits. Some popular choices include lavender for relaxation, peppermint for rejuvenation, and citrus scents for an uplifting experience. Feel free to mix and match oils to create your desired fragrance blend.
- Play with Colors: While optional, adding a few drops of food coloring can give your bath bombs a beautiful hue. However, be cautious not to add too much, as it may stain your skin or bathtub.
- Customize with Additives: In addition to dried flower petals or herbs, you can incorporate other additives like oatmeal, sea salt, or even glitter to enhance your bath bombs’ effects.
- Test and Adjust: If your bath bombs crumble or break apart easily, the mixture may be too dry. Add a small amount of water or oil to help it hold together. Conversely, if the mixture is too wet and doesn’t hold its shape, add a bit more baking soda and cornstarch.
- Practice Patience: The drying process is crucial, so be patient and allow sufficient time for your bath bombs to harden. Rushing this step can result in crumbly or fizzless bombs.
Read Also: How To Make A DIY Gift For A Friend
Benefits of Homemade Bath Bombs:
Before we dive into the nitty-gritty of making bath bombs, let’s briefly explore the benefits of using them. Bath bombs offer a range of advantages, including:
- Relaxation and Stress Relief: Bath bombs release aromatic scents and essential oils that promote relaxation, helping to relieve stress and tension.
- Moisturization: Many bath bombs contain nourishing oils and butters that help moisturize and soften your skin, leaving it feeling hydrated and smooth.
- Aromatherapy: By incorporating essential oils, bath bombs provide the benefits of aromatherapy. Different scents can help invigorate, relax, or uplift your mood.
- Fun and Creativity: Making your own bath bombs allows you to unleash your creativity, experimenting with different colors, shapes, and scents to create a personalized bathing experience.
Learning how to make homemade bath bombs is important because it allows you to personalize your bathing experience, save money, prioritize your health and well-being, unleash your creativity, and contribute to a more sustainable lifestyle. By investing time in mastering this skill, you can enhance your self-care routine and enjoy the many benefits that homemade bath bombs offer.
FAQs & Answers
Are homemade bath bombs safe to use?
Homemade bath bombs can be safe to use as long as you use high-quality ingredients and follow the recipe guidelines. However, it’s important to consider any potential allergies or sensitivities you may have to specific ingredients. Always perform a patch test on a small area of your skin before using a bath bomb, especially if you have sensitive skin.
Can I customize the ingredients in homemade bath bombs?
Absolutely! One of the advantages of making your own bath bombs is the ability to customize the ingredients. You can choose different oils, essential oils, colors, and even add additional elements like dried flowers or herbs to create a unique and personalized bath experience.
How long do homemade bath bombs last?
When stored properly in an airtight container, homemade bath bombs can last up to several months. However, it’s important to note that over time, their scent and fizziness may diminish. To enjoy the best experience, it’s recommended to use them within a few months of making them.
Read Also: How To Make Homemade Bread(Step By Step)
Can I substitute ingredients in the bath bomb recipe?
While the recipe provided in this guide is a standard one, you can experiment with ingredient substitutions. For example, you can use different types of oils like jojoba or grapeseed oil instead of almond oil. However, keep in mind that ingredient substitutions may alter the texture, fizziness, or scent of the bath bombs, so it’s best to research and test substitutions before making larger batches.How to make homemade bath bombs
How can I package homemade bath bombs as gifts?
Homemade bath bombs make wonderful gifts. To package them, you can use clear cellophane bags, small boxes, or decorative jars. Consider adding a ribbon, personalized tag, or a label with the scent and instructions for use. This way, your recipients can enjoy a spa-like experience in their own baths.
Are homemade bath bombs suitable for children?
Homemade bath bombs can be enjoyed by children, but it’s important to supervise their use. Make sure the ingredients are safe for their age group, and avoid using essential oils that may be too strong or irritating for young skin. Always follow safety guidelines and consult with a pediatrician if you have concerns about using bath bombs with children.
Can I adjust the size and shape of the bath bombs?
Yes, you can adjust the size and shape of the bath bombs based on your preference. Experiment with different molds or shape them by hand to create unique designs. Just ensure that the mixture is tightly packed to maintain the shape and allow for proper fizzing and dissolution in the bath.
How many bath bombs does one recipe make?
The number of bath bombs you can make with one recipe depends on the size of your molds and the amount of mixture you pack into each one. On average, the recipe provided in this guide can yield approximately 4-6 medium-sized bath bombs. Adjustments can be made to the recipe quantities to make a larger or smaller batch as desired.
Remember, making homemade bath bombs is a fun and creative process, so don’t be afraid to experiment and find your perfect combination of scents, colors, and ingredients. Enjoy the process and indulge in the relaxing and aromatic experience of using your homemade bath bombs.
Read Also: How To Make A Budget Spreadsheet
Conclusion
Making homemade bath bombs is a delightful and creative process that allows you to tailor your bathing experience to your preferences. By following the step-by-step instructions outlined in this guide, you can create your own luxurious bath bombs infused with delightful scents, nourishing oils, and personalized colors. Whether you keep them for yourself or share them with loved ones, these homemade creations will add a touch of luxury and relaxation to your bathing routine. So, gather your ingredients, let your imagination run wild, and start crafting your very own batch of fizzy bliss.

