How to crochet a granny square – Crocheting a granny square is a timeless and versatile technique that serves as the foundation for various crochet projects. Whether you’re a beginner or an experienced Crocheter, learning how to create a granny square opens up a world of creative possibilities.enoughinfo
In this article, we’ll guide you through the step-by-step process of crocheting a classic granny square, allowing you to embark on your crochet journey with confidence.
Read Also: How to tie a bowline knot(The Ultimate Guide)
Do you want to know how to make a granny square?
Granny squares may appear hard, but they are actually pretty simple to knit!
Crocheting granny squares is simple and enjoyable. In fact, even if you’re new to crochet, the basic granny square is an excellent beginner crochet pattern to try.
What exactly is a granny square?
A granny square is a popular crochet pattern. It’s made up of fundamental crochet stitches like the chain and double crochet. Granny squares are easily identified by their square form and lace-like texture.
Granny squares are often tiny in size, making them an excellent method to utilize little scraps of leftover yarn. Granny squares can be made in a single solid color or with a new color of yarn for each round.
After you’ve made a few grannies, you may join them to make larger objects such as crochet blankets, afghans, scarves, sweaters, and other simple crochet patterns.
Method of Construction
The fundamental granny square design is worked in linked rounds from the center out. A repeating pattern of granny clusters and chains is used to make each round of the granny square.
A granny cluster is a grouping of three double crochet (dc) stitches worked into the same space.
Chain spaces divide the granny clusters: chain-1 spaces along the sides and chain-3 spaces at the four corners of the square.
Variations on the Granny Square
There are literally hundreds of different granny square versions. Classic granny squares, solid granny squares, solid granny squares with no gaps, sunburst granny squares, and even granny hexagons can be made!
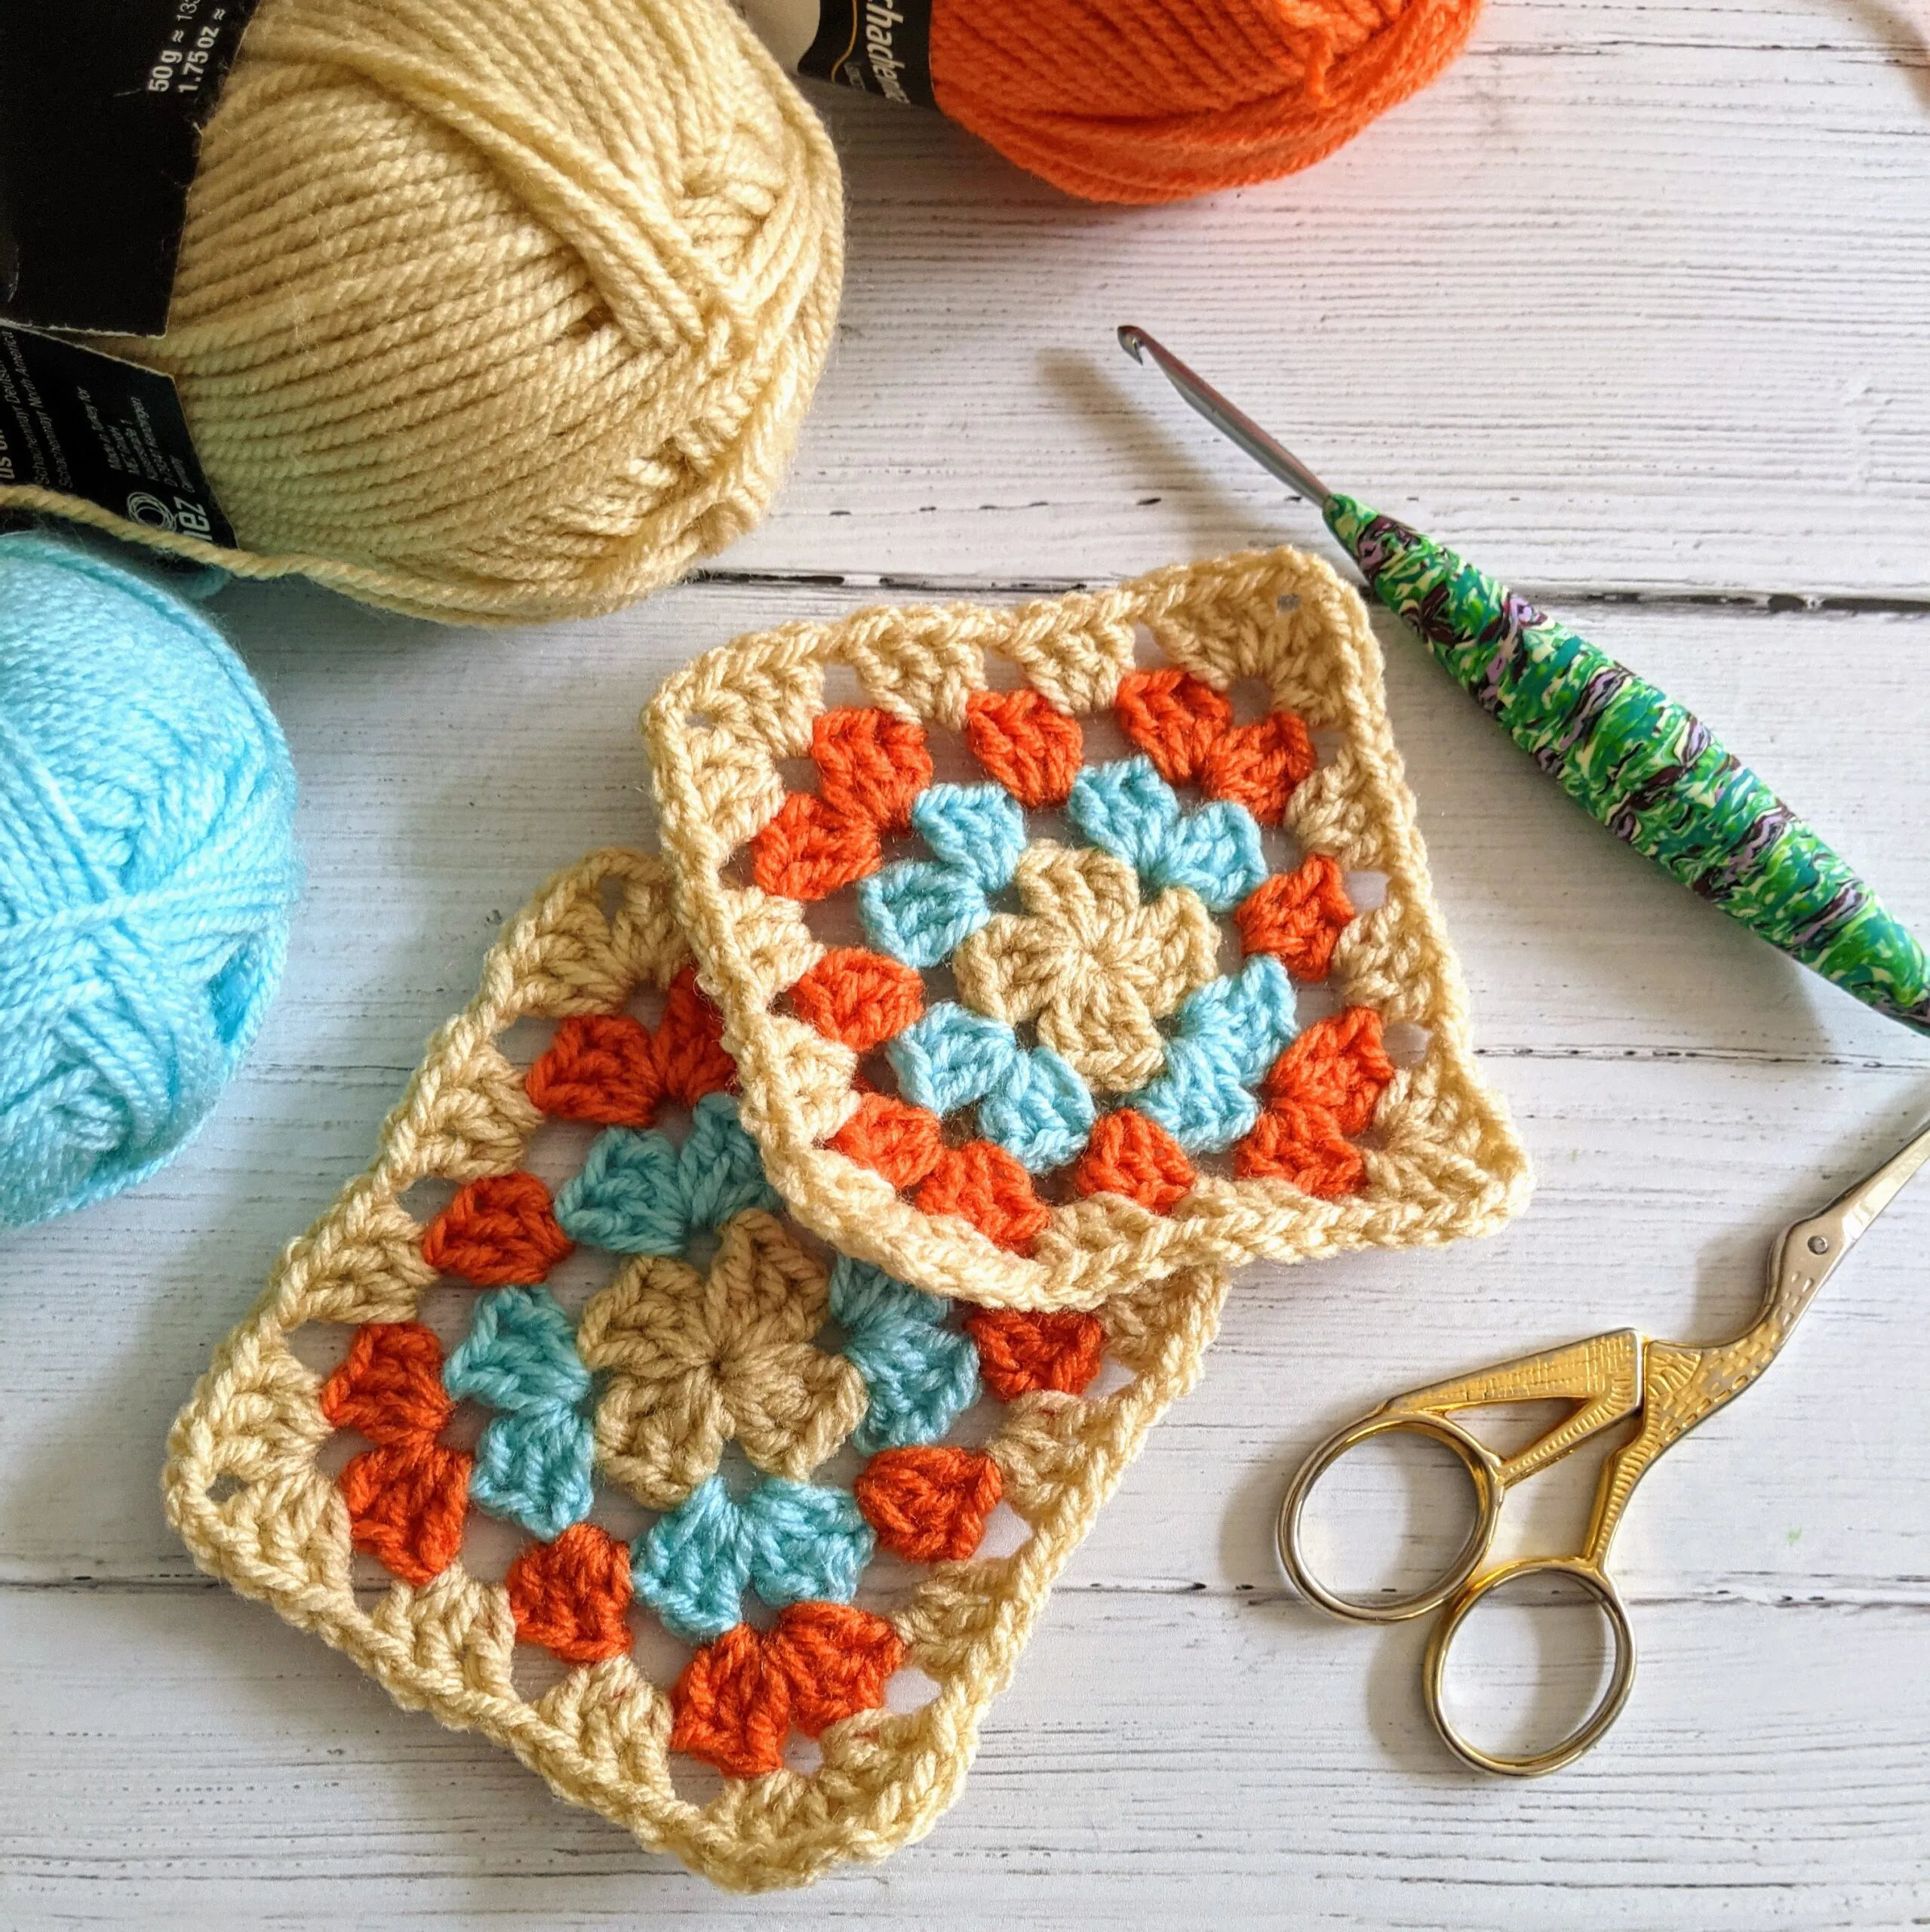
Supplies
A modest amount of yarn and the suitable size crochet hook are required to produce a granny square.
Using worsted weight yarn.
Using a crochet hook size H (5.0mm).
A few stitch markers to indicate the beginning of each round.
This craft does not require any special yarn; a tiny amount of yarn from your stash will suffice. Having said that, I always advise novices to use a light color worsted weight yarn with a smooth texture. (This will make it easier to see your stitches.) Then, select a hook size based on the yarn label.
This basic granny square will be crocheted in a plain color. You can do the same thing or use a different color of yarn for each round.
Notes on the Pattern
This crochet pattern is written in American terminology.
Granny squares are made “in the round” in linked rounds.
For each cycle of this project, the right-side is faced.
You will not be working into the stitches from the previous round, but rather into the chain spaces from the previous round.
Crochet Stitches:
The granny square is produced with simple crochet stitches. The abbreviations used in this design are as follows.
ch stands for chain stitch.
ch-sp stands for chain space, dc stands for double crochet, and sl st is for slip stitch (insert hook, yarn over, pull through stitch, and loop on hook).
stitch(es) – stitch(es)
Unique Stitches
Granny clusters separated by chain spaces form the rounds of the granny square.
Granny cluster (3 dc cluster): A granny cluster is a group of three double crochet stitches performed together in one stitch or area. Chain stitches are used to separate the granny clusters in this pattern.
Read Also: How to organize your closet(Step by Step)
Three Ways to Begin a Granny Square
There are three methods to begin a granny square. You can begin with a single chain stitch, a ring of chain stitches in the center, or the magic ring technique.
Option 1: Begin with a single chain.
This technique is simple and quick, but fitting all of the stitches into one chain stitch might be difficult.
To begin with a single chain stitch, chain 3 and work the following stitches into the initial chain stitch. The first chain stitch will be constructed from all of the clusters in the first round.
Chain Stitch Center Ring Option 2
This method is quick and simple, but it results in a larger hole in the center of your square.
To begin, make a chain stitch center ring: Make a circle by chaining 4 stitches and joining them with a slip stitch. Then, make your first round of the circle.
Option 3: Magic Ring (also known as Magic Circle)
The magic ring, often known as the magic circle technique, is the third alternative. This procedure will result in a tight center with no gaps or holes.
Read Also: How to remove paint from clothes (2023 Review)
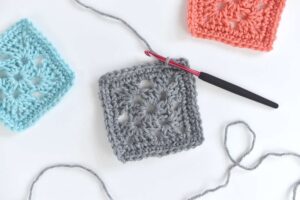
How to Crochet a Granny Square: A Step-by-Step Guide for Beginners
Materials Needed: To crochet a granny square, gather the following materials:
- Crochet hook (appropriate size for your yarn)
- Yarn (choose any color or a combination of colors)
- Scissors
- Yarn needle (for weaving in ends)
Step 1: Make a Slip Knot Start by making a slip knot. To do this, leave a tail of yarn and create a loop. Pass the working end of the yarn through the loop, gently pull to tighten, and slide the loop onto your crochet hook.
Step 2: Chain Stitch (Ch) Create a chain stitch by yarn over (yo) the hook and pulling the yarn through the slip knot loop on the hook. Repeat this step until you have the desired number of chain stitches for the center of your granny square.
Step 3: Forming the Center Ring To form the center ring, bring the first chain stitch and the last chain stitch together. Insert your hook into the first chain stitch, yarn over, and pull the yarn through both loops on the hook. This creates a ring or loop.
Step 4: Round 1 For the first round, chain three (this counts as the first double crochet stitch), and work two double crochet stitches into the center ring. Chain two to create a corner space. Work three double crochet stitches into the center ring, chain two. Repeat the instructions between – two more times. To close the round, slip stitch into the top of the initial chain three.How to crochet a granny square
Step 5: Round 2 For the second round, chain three (counts as the first double crochet stitch), work two double crochet stitches into the corner space of the previous round, and chain two. Work three double crochet stitches into the next corner space, chain two. Repeat the instructions between – in each corner space around. Slip stitch into the top of the initial chain three to close the round.
Step 6: Additional Rounds To continue building your granny square, repeat Round 2 for each subsequent round. Work three double crochet stitches into each corner space and chain two between the corners. As you progress, the granny square will grow larger with each round.
Step 7: Finishing the Granny Square Continue crocheting additional rounds until your granny square reaches the desired size. To finish, fasten off your yarn by cutting it, leaving a tail. Pull the tail through the last stitch, remove the crochet hook, and weave the tail into the stitches using a yarn needle to secure it.
Step 8: Customization and Variations Once you’ve mastered the basic granny square pattern, feel free to explore different variations and color combinations. You can experiment with different stitch patterns, add more rounds, or combine multiple granny squares to create larger projects like blankets, scarves, or bags.
Read Also: How To Get Highlighter Out Of Clothes
FAQs & Answers
What size crochet hook should I use for a granny square?
The size of the crochet hook you use depends on the weight of your yarn and your personal tension. Typically, a crochet hook in the range of 3.5mm to 5.5mm (US size E to I) works well for most worsted weight or medium weight yarns. However, feel free to adjust the hook size based on your yarn and desired outcome.
Can I use different colors for my granny square?
Absolutely! One of the great things about granny squares is that they can be made in a variety of colors. You can use a single color for the entire square, alternate colors in each round, or create color patterns and designs. The choice is entirely up to you and your creative vision.
How many rounds should I crochet for a granny square?
The number of rounds you crochet for a granny square depends on the size you want to achieve. Typically, a granny square is made with multiple rounds ranging from 3 to 6 rounds. However, you can continue adding rounds until your square reaches the desired size.
How do I join multiple granny squares together?
To join multiple granny squares, you can use various methods such as slip stitching, single crocheting, or sewing them together with a yarn needle. Explore different joining techniques to find the one that suits your project best. Some common methods include whip stitch, slip stitch join, or the popular “join-as-you-go” method.
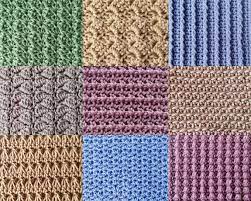
Can I use a different stitch pattern for my granny square?
Yes, you can experiment with different stitch patterns to create unique granny squares. The classic granny square pattern uses double crochet stitches, but you can incorporate other stitches like half-double crochet, treble crochet, or even textured stitches to add visual interest. Feel free to explore and customize your granny square with different stitch combinations.
Can I resize a granny square?
Yes, you can resize a granny square by adjusting the number of stitches and rounds. To make a larger square, add more rounds and stitches in each round. Conversely, if you want a smaller square, reduce the number of stitches and rounds. Remember to maintain the same stitch pattern and proportions for a balanced and cohesive granny square.
Read Also: How To Paint A Sunset With Acrylics(The Ultimate Guide)
What can I make with granny squares?
Granny squares are incredibly versatile and can be used to create various crochet projects. Some popular uses include blankets, afghans, scarves, shawls, pillow covers, bags, and even clothing items like vests or ponchos. Let your creativity guide you and explore different ways to incorporate granny squares into your crochet projects.
Conclusion:
Crocheting a granny square is a fundamental skill that opens up endless possibilities for creative crochet projects. By following these step-by-step instructions, you can create your very own granny square, which can serve as the building block for various beautiful and unique creations. Enjoy the process, experiment with colors and patterns, and let your imagination run wild as you dive into the world of crochet. Happy crocheting!