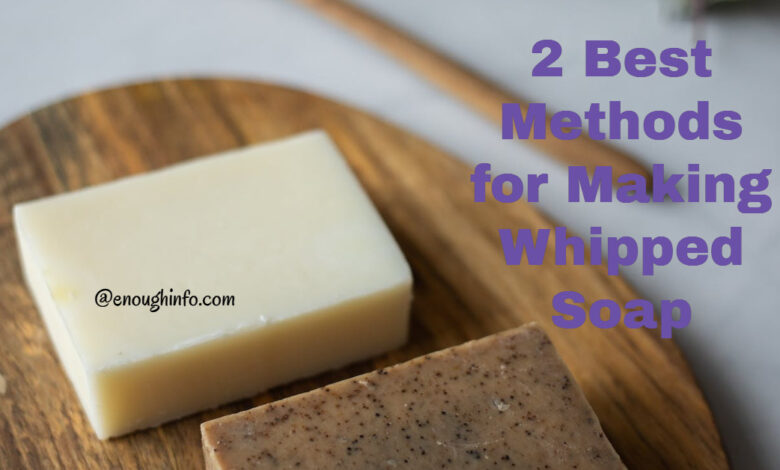
2 Best Methods for Making Whipped Soap

Nothing beats a soothing bath with a delightfully scented skin-loving washing product throughout the summer months. Today we will show you the 2 best methods for making whipped Soap.
Whipped soap is incredibly simple to produce, and we will walk you through the process step by step.
Whipped soaps have been popular for the past year or so, and it’s easy to understand why, with their delicious textures, swirls of vibrant color, and lovely scents combining to change your bathroom time.
What exactly is whipped soap?
Whipped soap is a soft soap bar that can be used in place of a standard soap bar or body wash in the bathroom. The texture is completely distinct, bringing a sense of luxury to your bathroom experience. Whipped soaps can also be used as shaving cream, providing a hydrated shave due to the wetness and rich lather they can produce on the skin.
The components are slightly different from other soaps, which contributes to the soft, buttery texture. Many individuals like this sort of soap because they believe it provides a greater sense of well-being because it feels so pleasant on the skin. And, like other types of soap, it can be used for handwashing, in the bath or shower, or as a shaving cream.
How to Make Whipped Soap

2 Best Methods for Making Whipped Soap
We’ve put up two alternative recipes and methods for making whipped soap that you can try.
Ingredients Required:
- 400g solid palm oil
- 200g solid coconut oil
- 95g pearls or beads of sodium hydroxide (caustic soda)
- 50g pomace, virgin, or extra virgin olive oil
- 20ml essential oils (either solo or mix).
Equipment:
- Saucepan made of stainless steel
- Scales in the kitchen
- Hand-held electric whisk
- Heat-resistant measuring cup
- Spoon made of wood
- Mold for soap
- Sunglasses for safety
- Gloves made of rubber
Method of preparation:
- For your soap, use a silicone mold or any other piece of plastic kitchenware.
- Fill a heatproof container with 244g of cold water.
- To avoid breathing in the sodium hydroxide, use a mask over your mouth.
- Mix 95g of sodium hydroxide beads (or pearls) into the water with a spoon or spatula. The solution has now transformed into the lye required to produce your soap.
- This will become extremely hot, so handle with caution and set aside to cool; in warm weather, it may need to be refrigerated.

- In a saucepan, combine 200g coconut oil and 400g palm oil.
- Whisk the oils together (ideally with an electric whisk) until they are light and creamy.
- Continue to whisk the lye solution into the whipped oil mixture in a bowl.
- Now, add your essential oils (around 20ml) to the bowl, followed by an appropriate soap color, and mix everything.
- Pour the mixture into your mold once it has been thoroughly mixed.
- As the mixture thickens, work it in layers to achieve the desired whip effect.
Allow the mixture to saponify overnight, or until it’s light and solid enough to cut into smaller bars or chunks. You should also let the soap cure for 3-4 weeks before using it.
Wear gloves, goggles, and protective clothing when working with sodium hydroxide, and make sure there is adequate ventilation. It is safe to use in small amounts at low concentration levels, but it must be handled with utmost caution at all times.
Method 2:
Alternatively, you might make your first whipped soap using this recipe, which utilizes Polysorbate 80 instead of sodium hydroxide.
Ingredients required:
- OPC Crystal Base 600g
- 6 g Polysorbate 80
- 12 g Soap dyes
- 18 g Essential oils
- Carrier oil, 6g
Equipment:
- Weighing scales
- Mixing bowl
- Electric hand or stand mixer
- Jugs
- Large piping nozzle and piping bag
- Spatulas
Method of preparation:
- Place the crystal OPC foundation in a basin and slice it into small pieces.
- Whip the base until it has a creamy texture.
- Mix in your choice of pockets-carrier oil, essential oils, and polysorbate 60.
- In a mixing dish, combine all of the ingredients.
- Mix in the soap colorants of your choice.
- Place the mixture in the center of a piece of clingfilm.
- Fold the clingfilm along the sides, forming a knot at the top, then shape it into an oval shape, pushing out any air pockets
- Before putting it into the piping bag, roll up the ends and cut one off using scissors.
- To make a stunning whipped soap design, pipe the mixture into your soap containers.
Unlike the previous method, no curing period is required, so the soap is immediately ready for use in the shower, shaving, or simply pampering yourself in the bathroom.
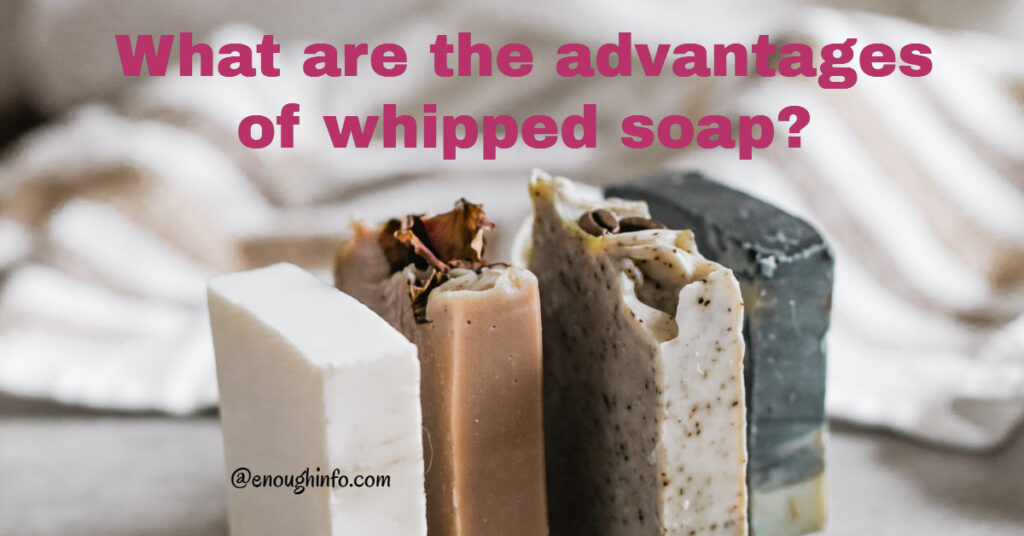
What are the advantages of whipped soap?

Whipped soap has a light, smooth texture that feels wonderful on the skin, and when coupled with a blend of essential oils, it can provide several health advantages.
Essential oils provide a variety of vitamins and nutrients that can help moisturize and nourish your skin. Lavender Essential Oil, for example, is extremely versatile and antimicrobial, making it ideal for skin calming. Rose essential oil is popular among soap manufacturers because it is abundant in vitamins C and E, which are known for their moisturizing properties.
Cocoa butter, which is high in phytochemicals (plant compounds), is also used in the whipped soap recipe. These are known to increase blood flow to the skin and protect it from the indications of aging caused by harmful UV rays.
Conclusion.
Making whipped soap is not as difficult as it appears, so anyone with a little spare time may get creative at home. Due to the high concentration levels of essential oils, use the proper safety equipment as instructed in the two approaches and proceed with caution whenever you handle them (perform a patch test if you are unsure of their suitability for your skin). However, whipped cream soap-making may easily become addictive, and we’re sure you’ll want to make more of them.
Read More:
Ngawin Review: How to Play and Earn Real Cash
How To Use Twitter To Find A Job – 12 Effective Steps
